For instructors
Set up your practice
From a blank account to a bookable page, signed waivers, and books that will hold up in April. About twenty minutes, and you can do all of it from a phone if that's what you have on the ramp.
Before you start
- · Your certificate numbers and home airport.
- · A photo of yourself that isn't a group shot from a wedding.
- · What you charge, per session type.
- · No card. The free tier is free, and nothing here asks for one.
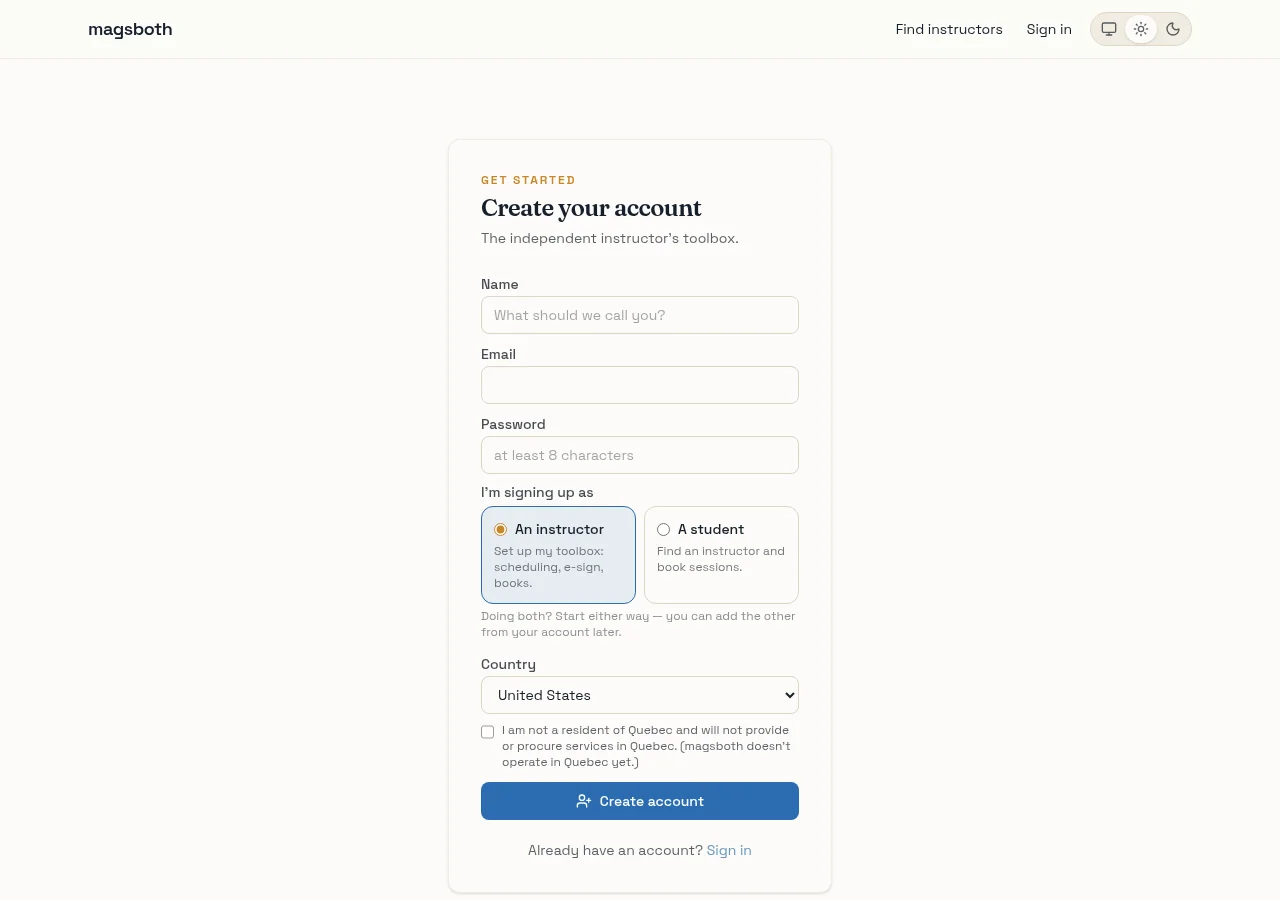
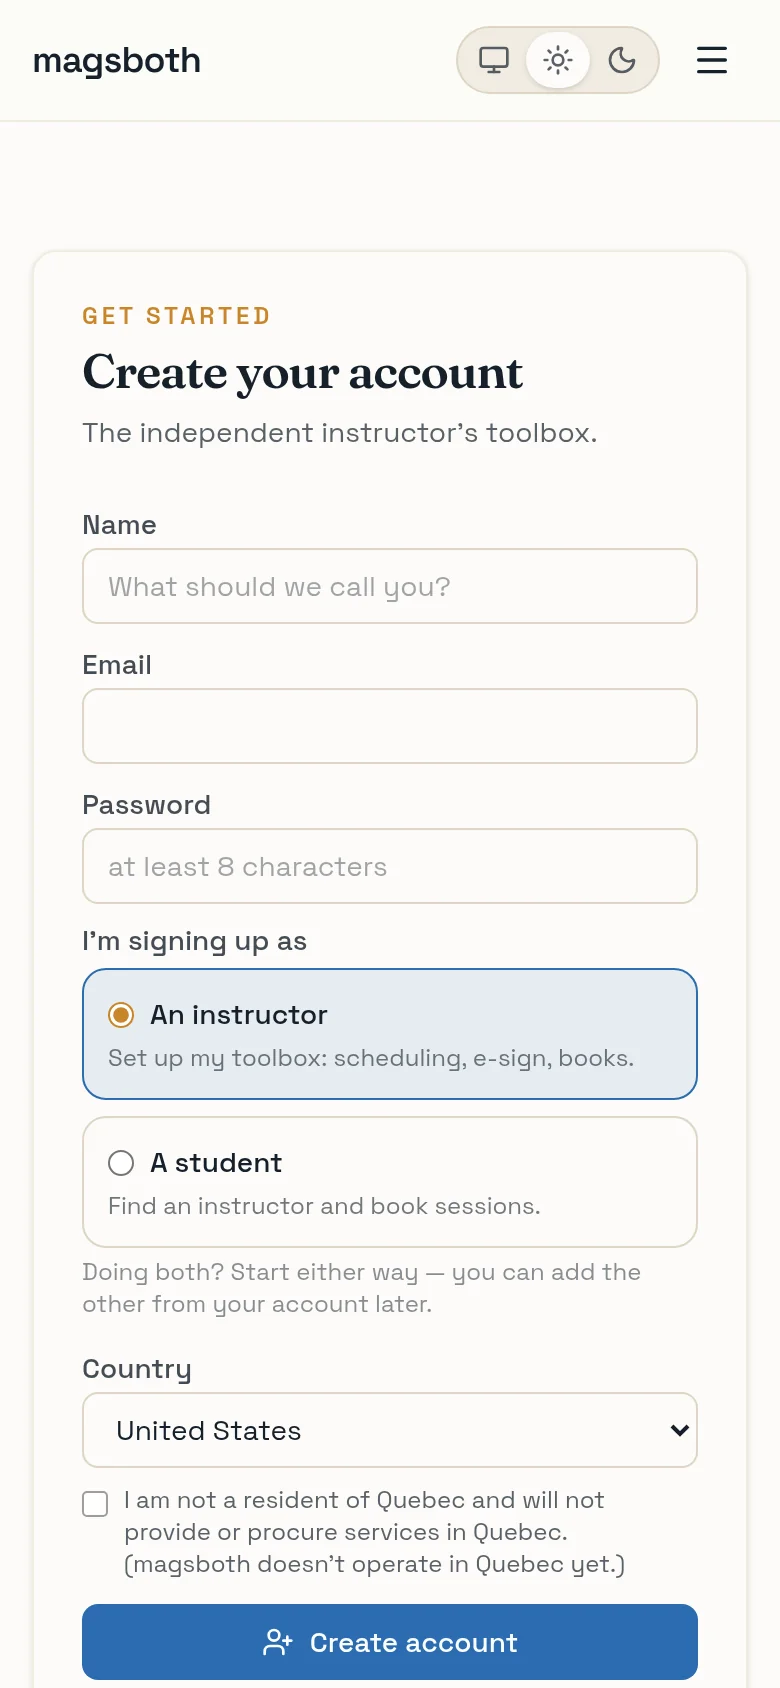
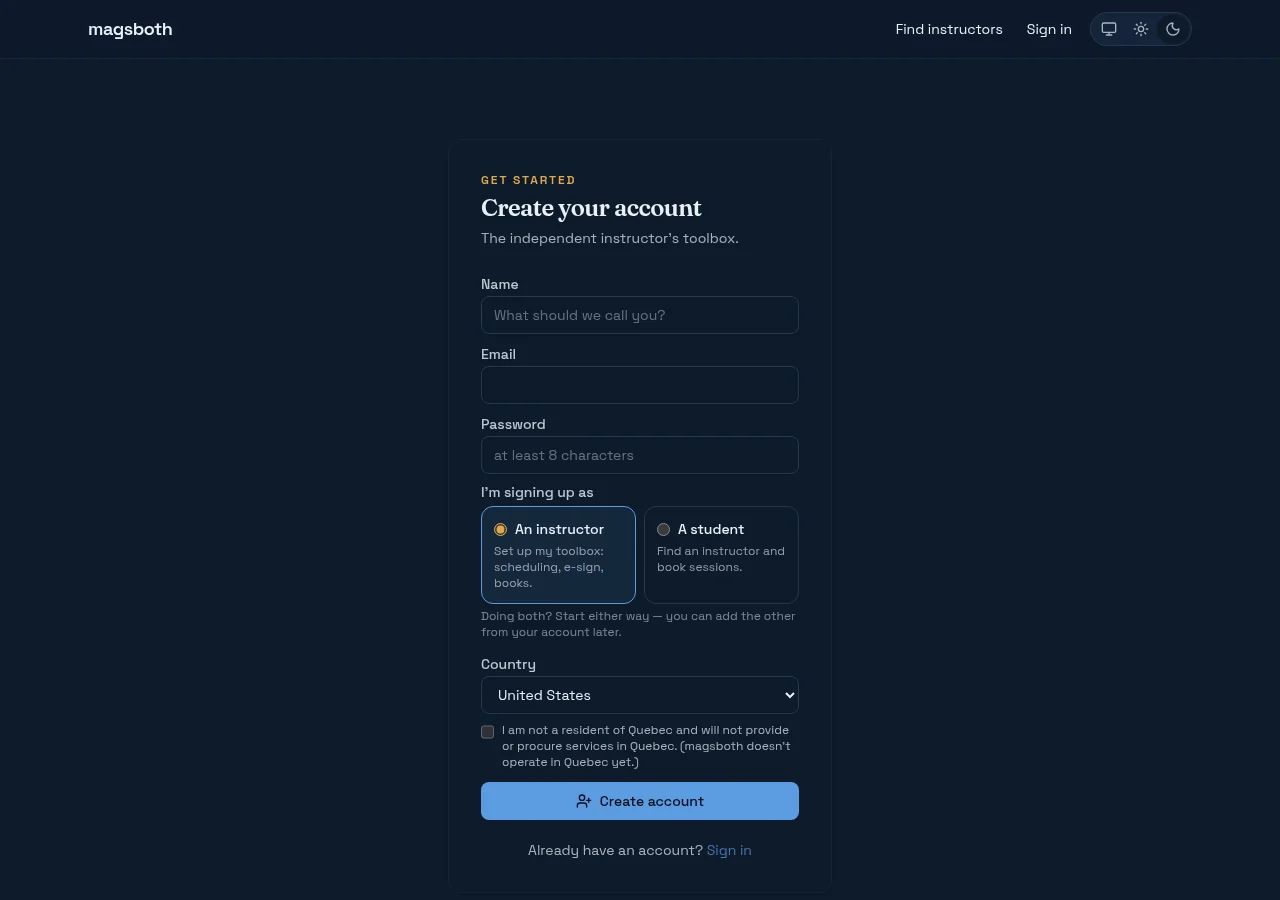
Create your account
Sign up at
app.magsboth.com
, choosing An instructor. Everything you do lives under app.; the public side of your profile lives on the
main site.
You'll be asked to confirm you're not operating in Quebec. That's not a joke about Montreal weather: Quebec's language and consumer rules are stricter than the federal ones we currently meet, so we stay out until we can meet them properly.
Fill in your profile
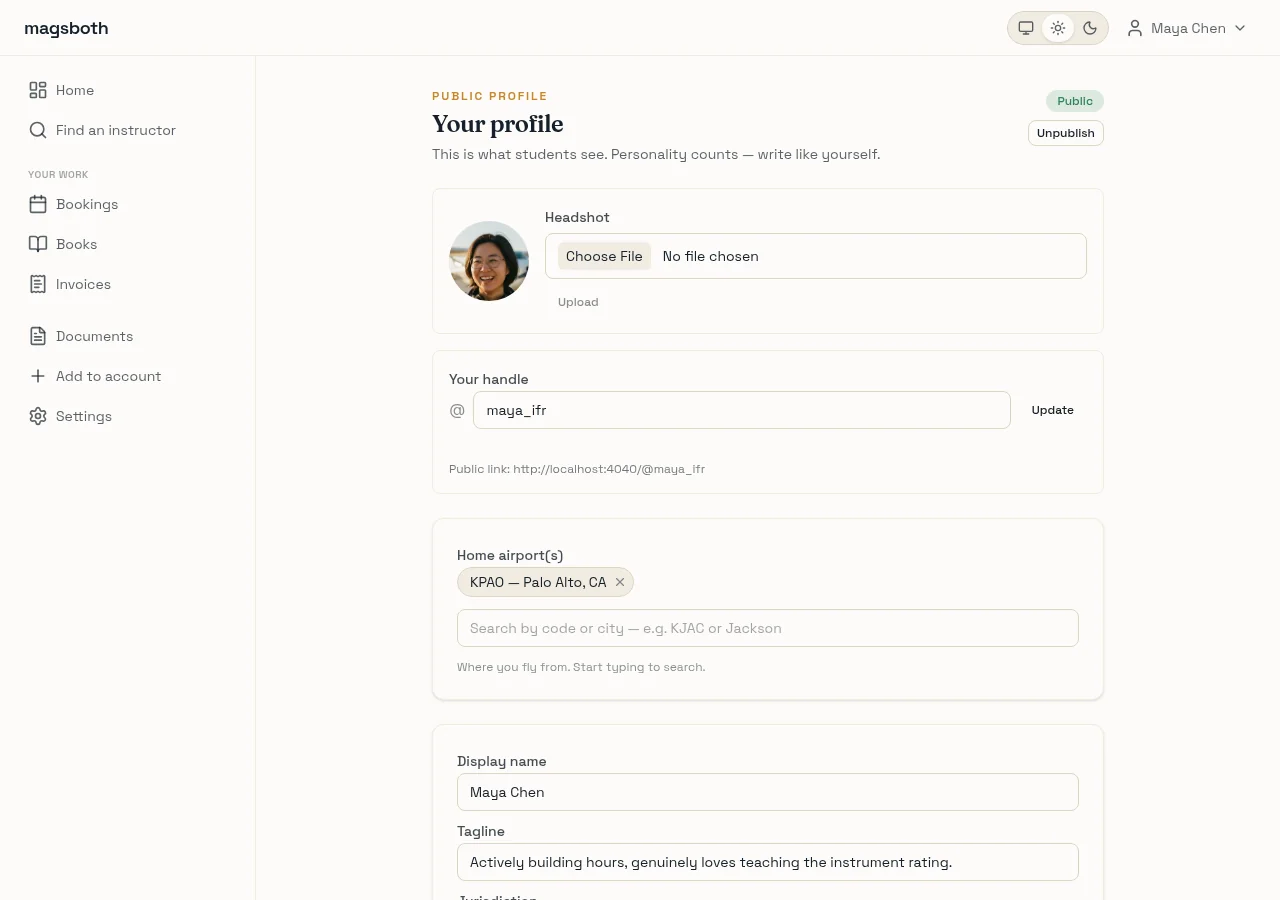
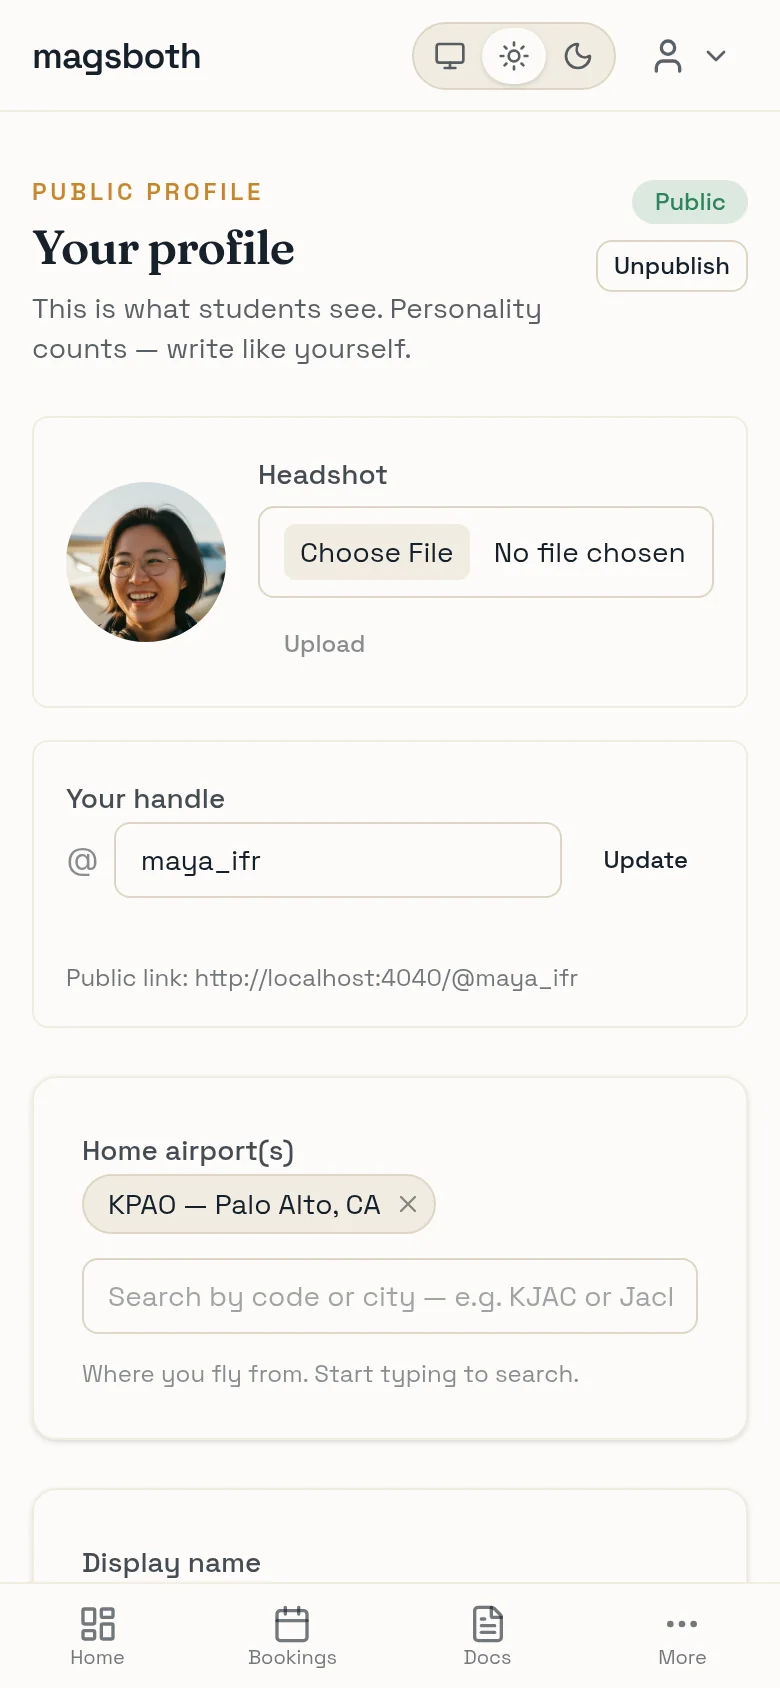
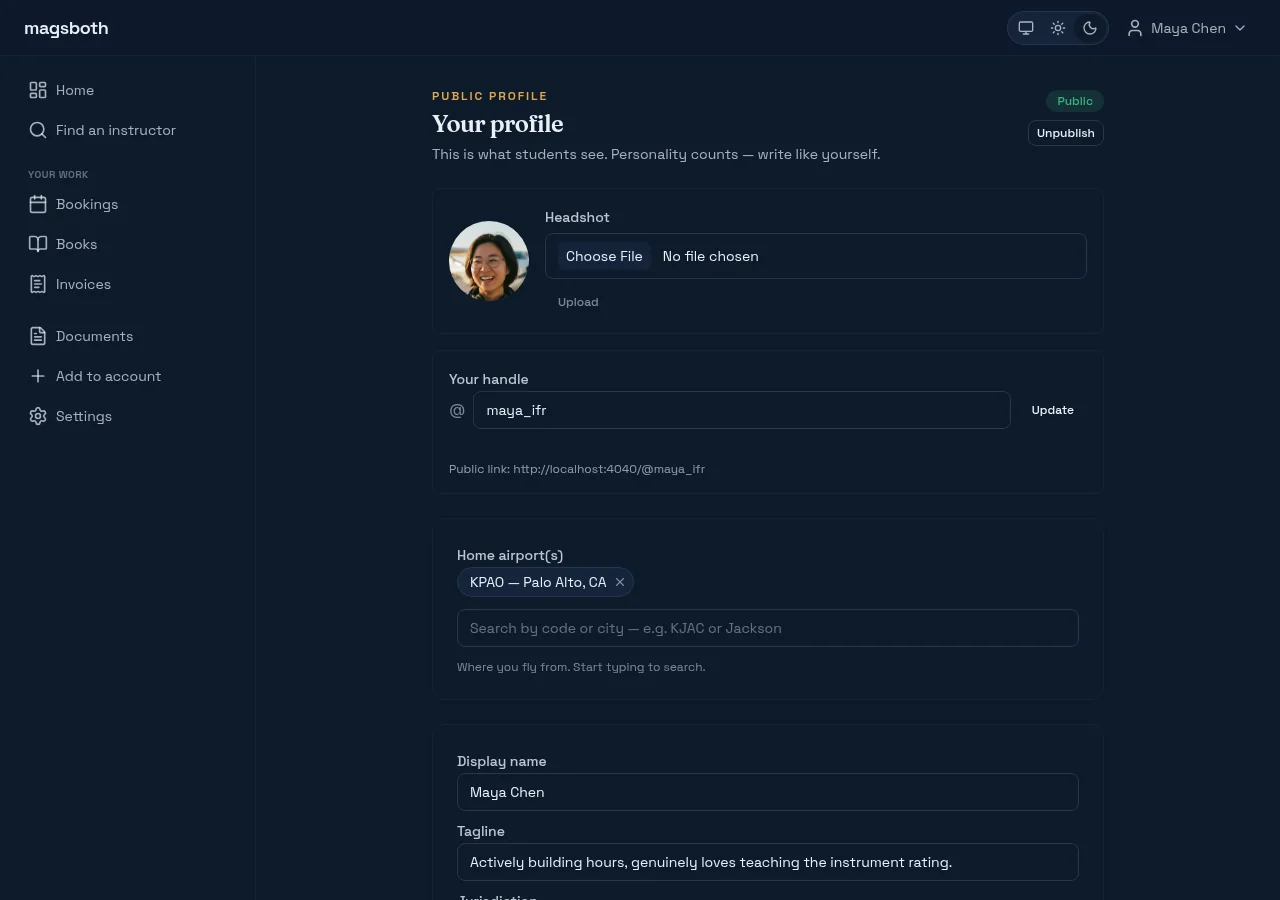
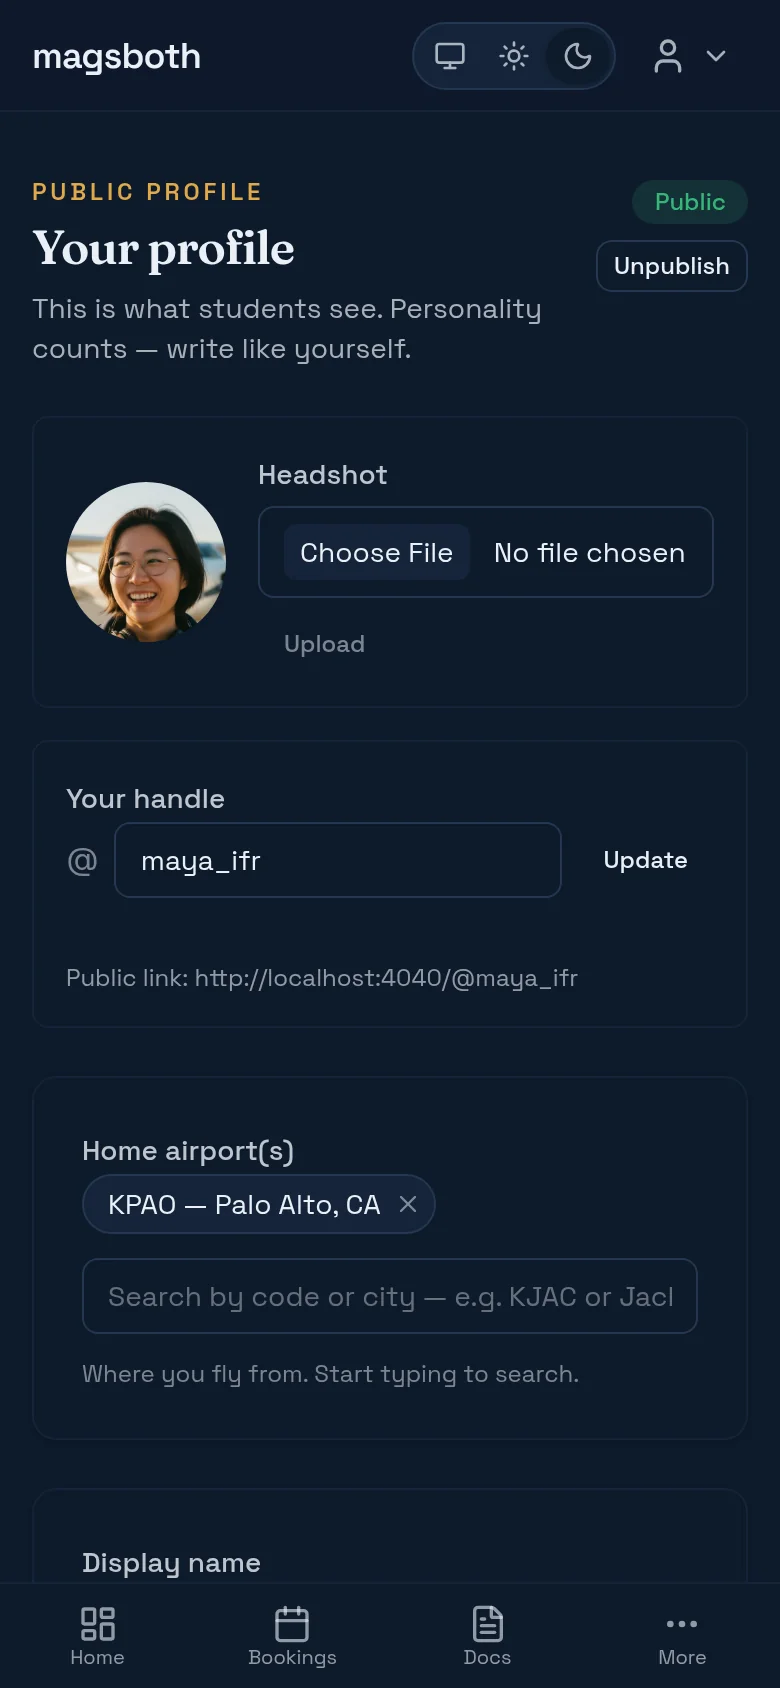
Your profile is both your storefront and your filters. When a student searches Find, they're filtering on the structured parts of this page: home airport, aircraft classes you instruct in, certificates and ratings you train toward, endorsements and specialties. Anything you leave blank is a search you don't appear in.
-
Handle.
Your public link is
/@handle. Pick something you'd be happy putting on a business card; you can change it later, but old links won't follow. - Tagline and bio. The one part of the page that isn't a checkbox. Students pick instructors on personality far more than you'd think. Write like you'd talk in a preflight brief.
- Aircraft. What you fly and whether it's owned, club, or rental, plus whether you'll teach in a student's aircraft.
- Insurance. Whether you carry CFI non-owned. Students do look.
Then hit Publish. Until you do, your page is visible only to you and you won't appear in Find.
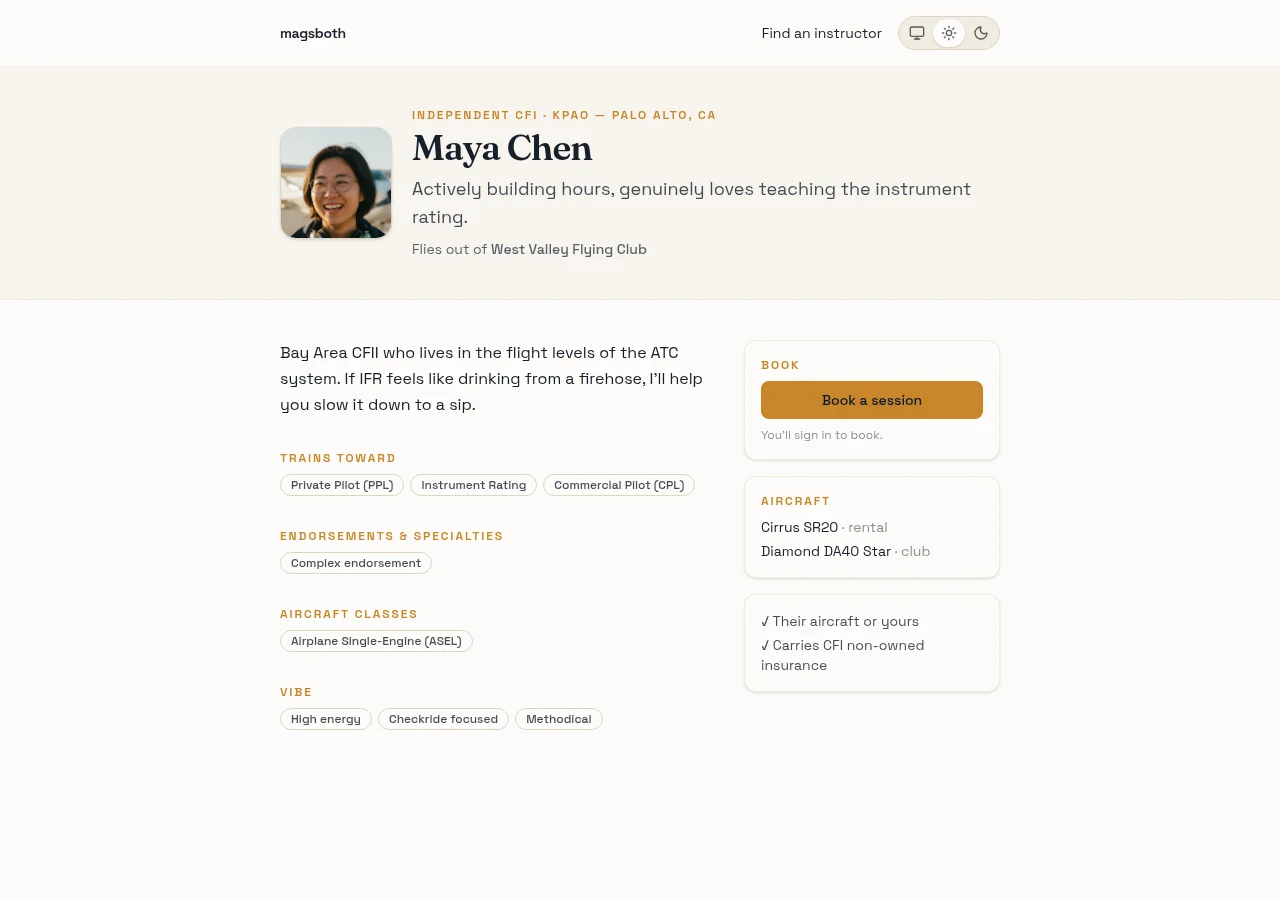
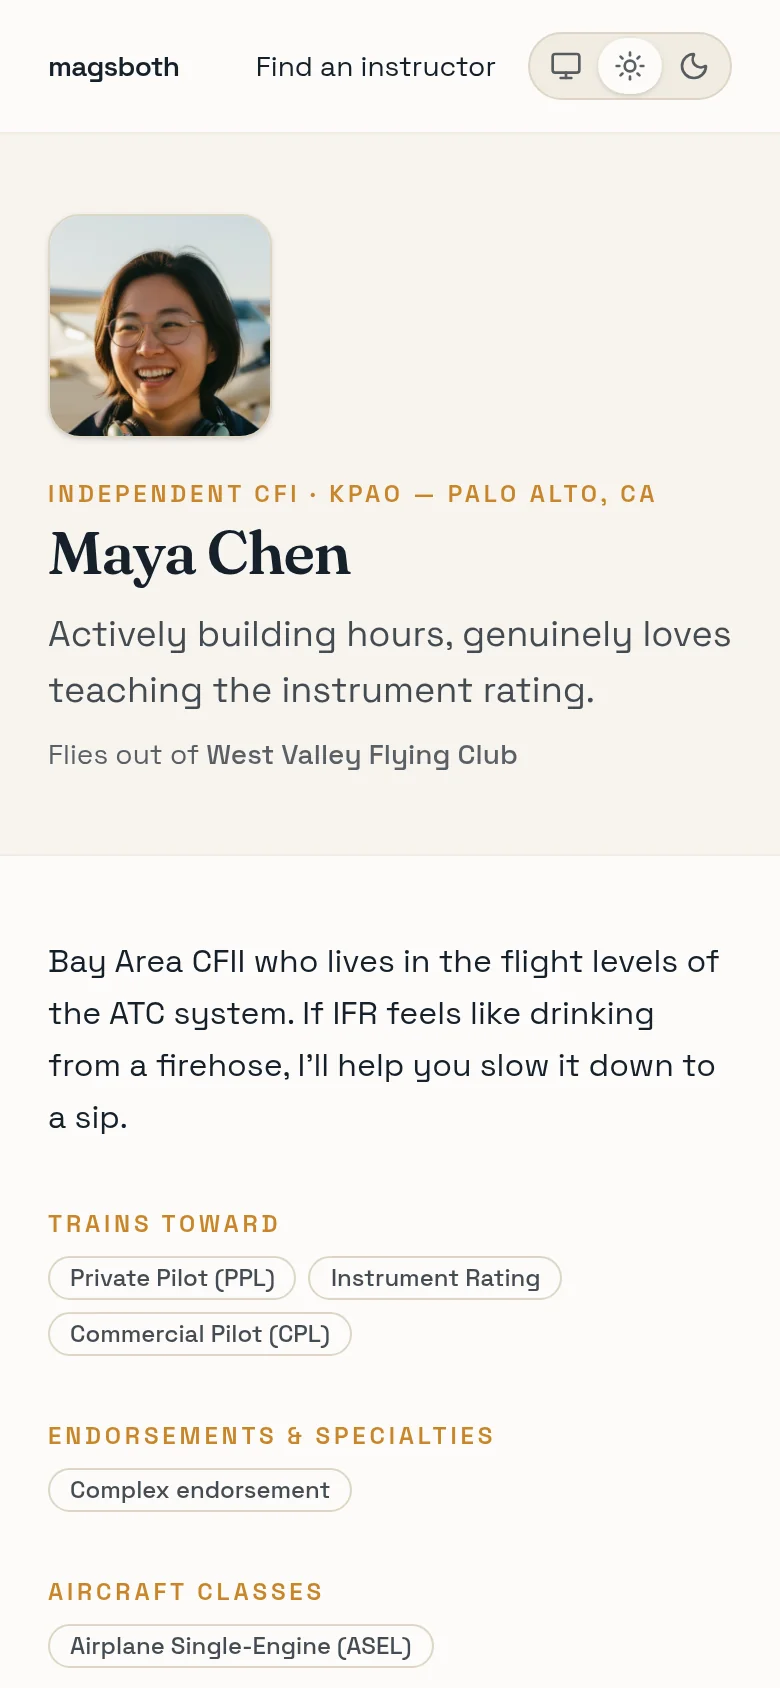
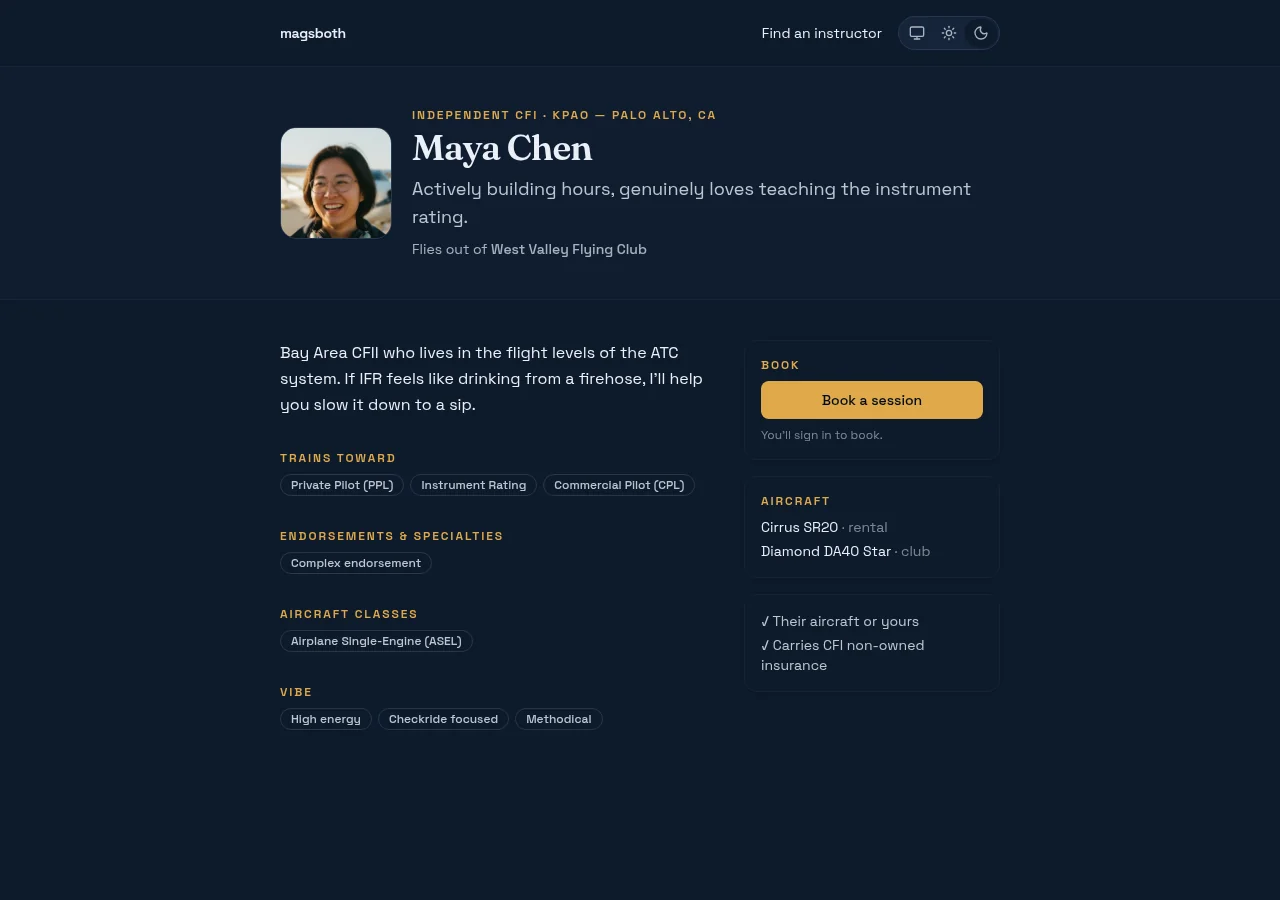
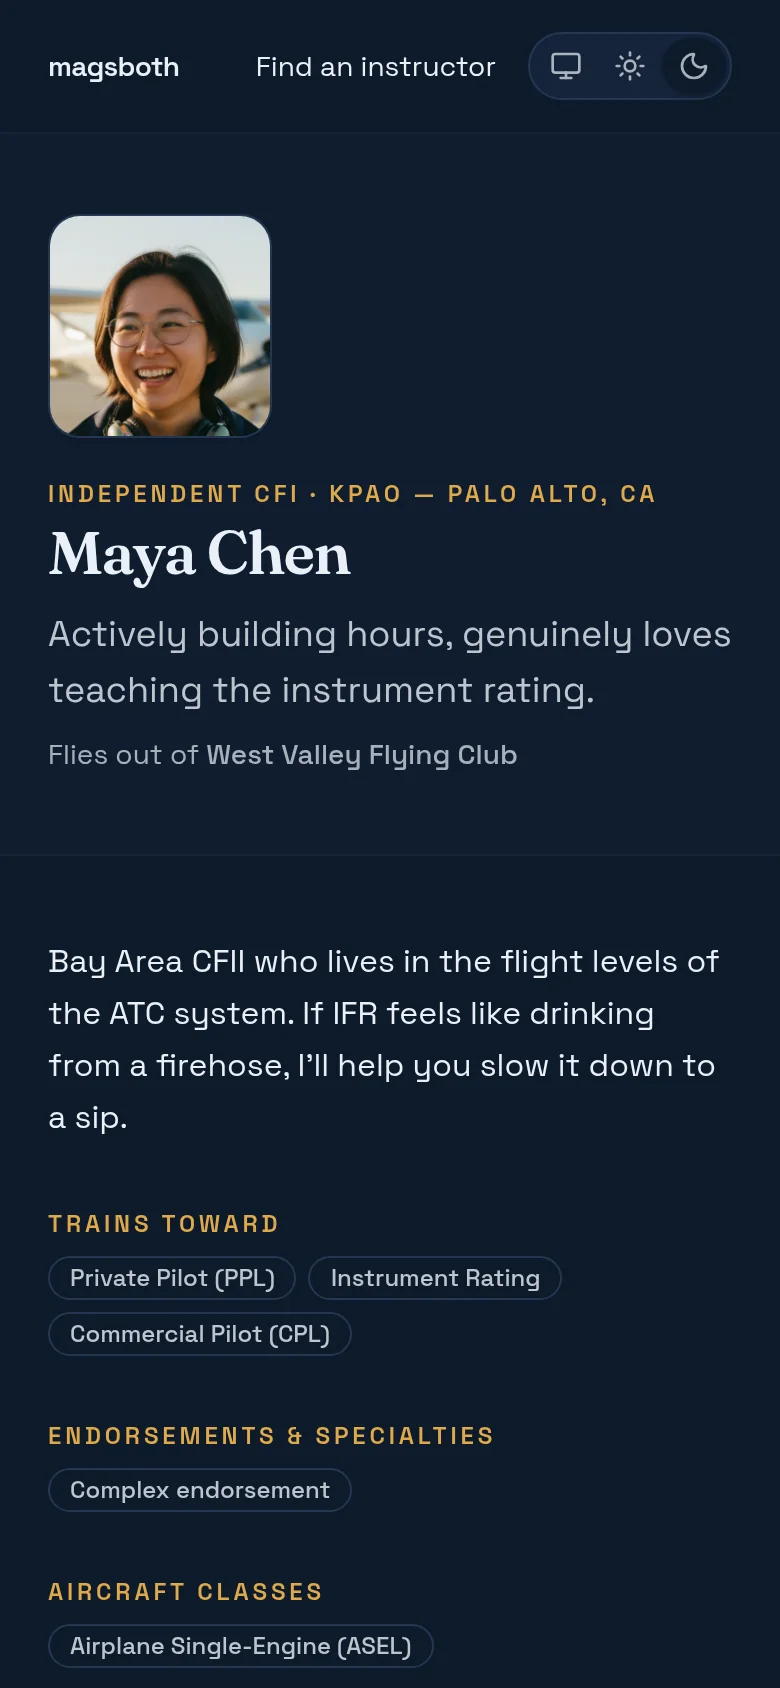
Check your public page
This is what a student sees, and it's a plain public URL. Put it in your email signature, your hangar-board flyer, or your Instagram bio. It works whether or not the reader has a magsboth account.
Set your weekly availability
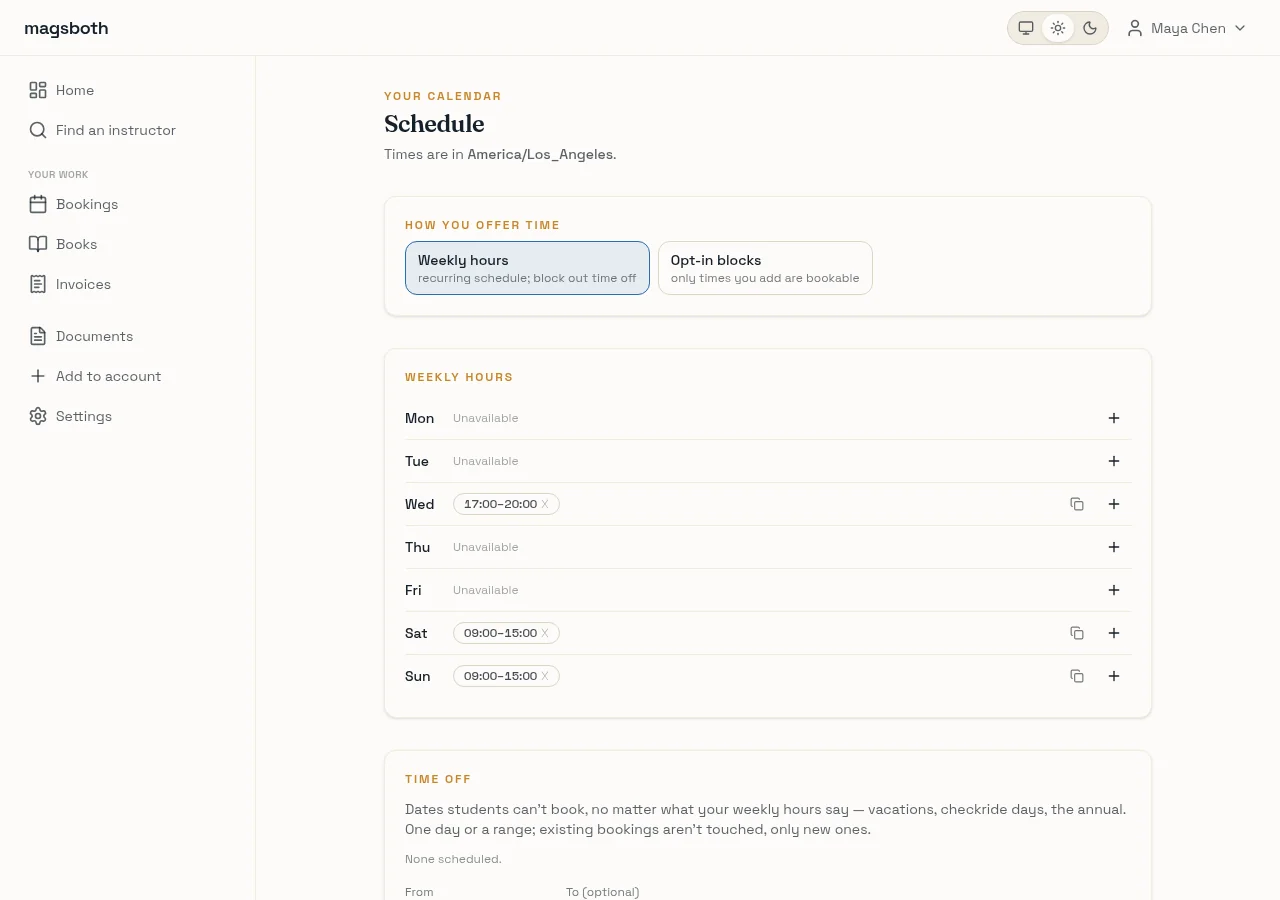
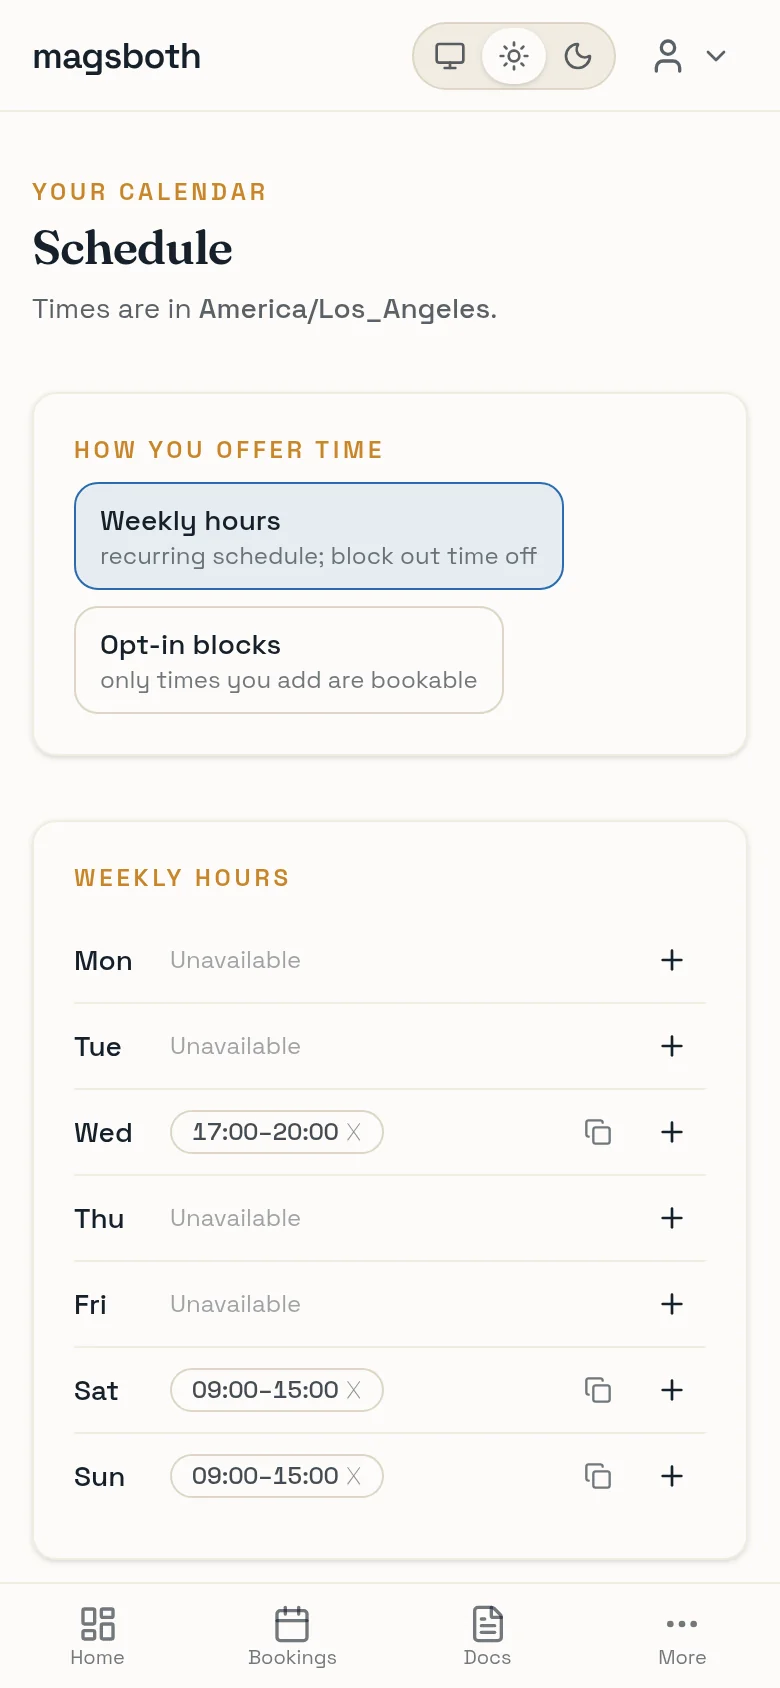
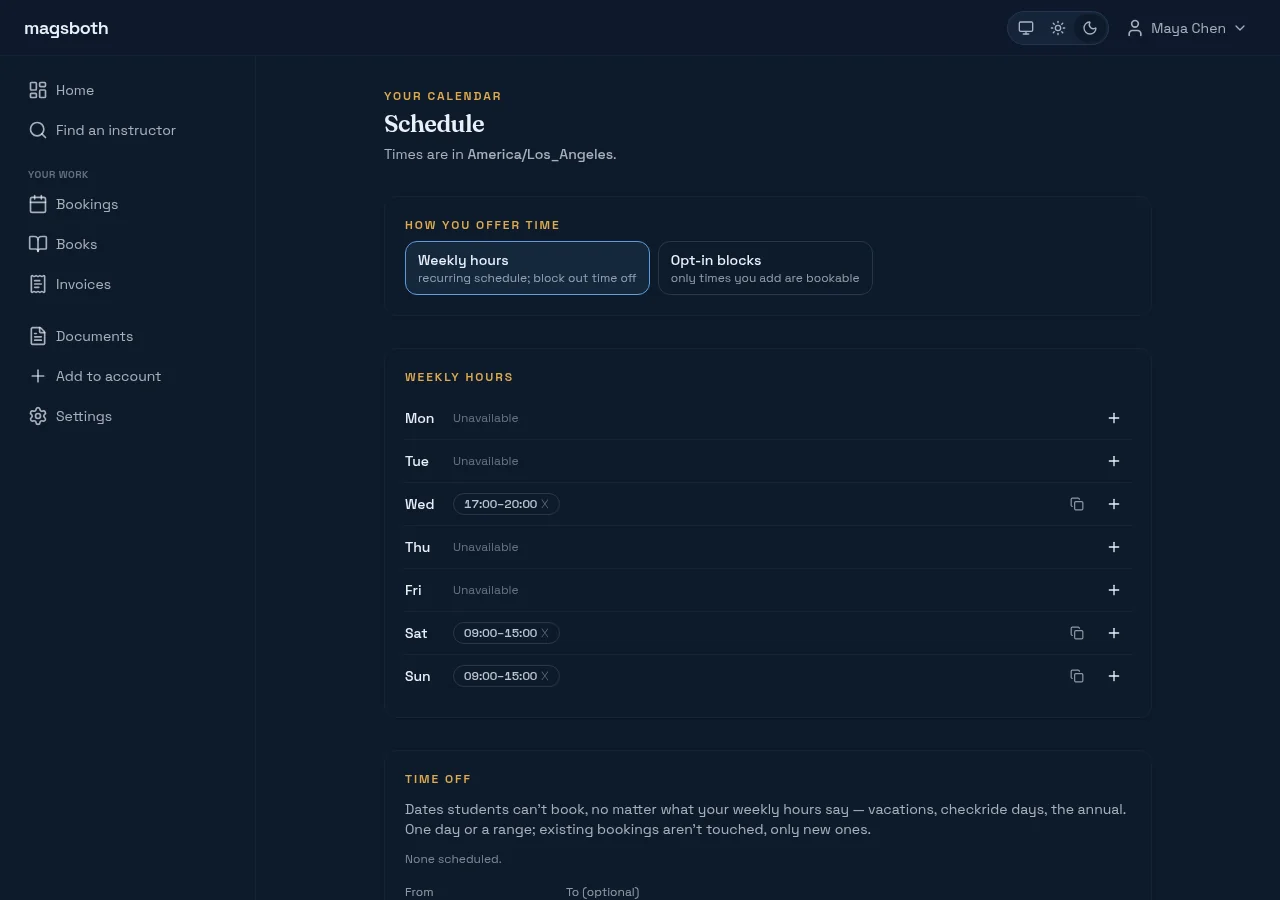
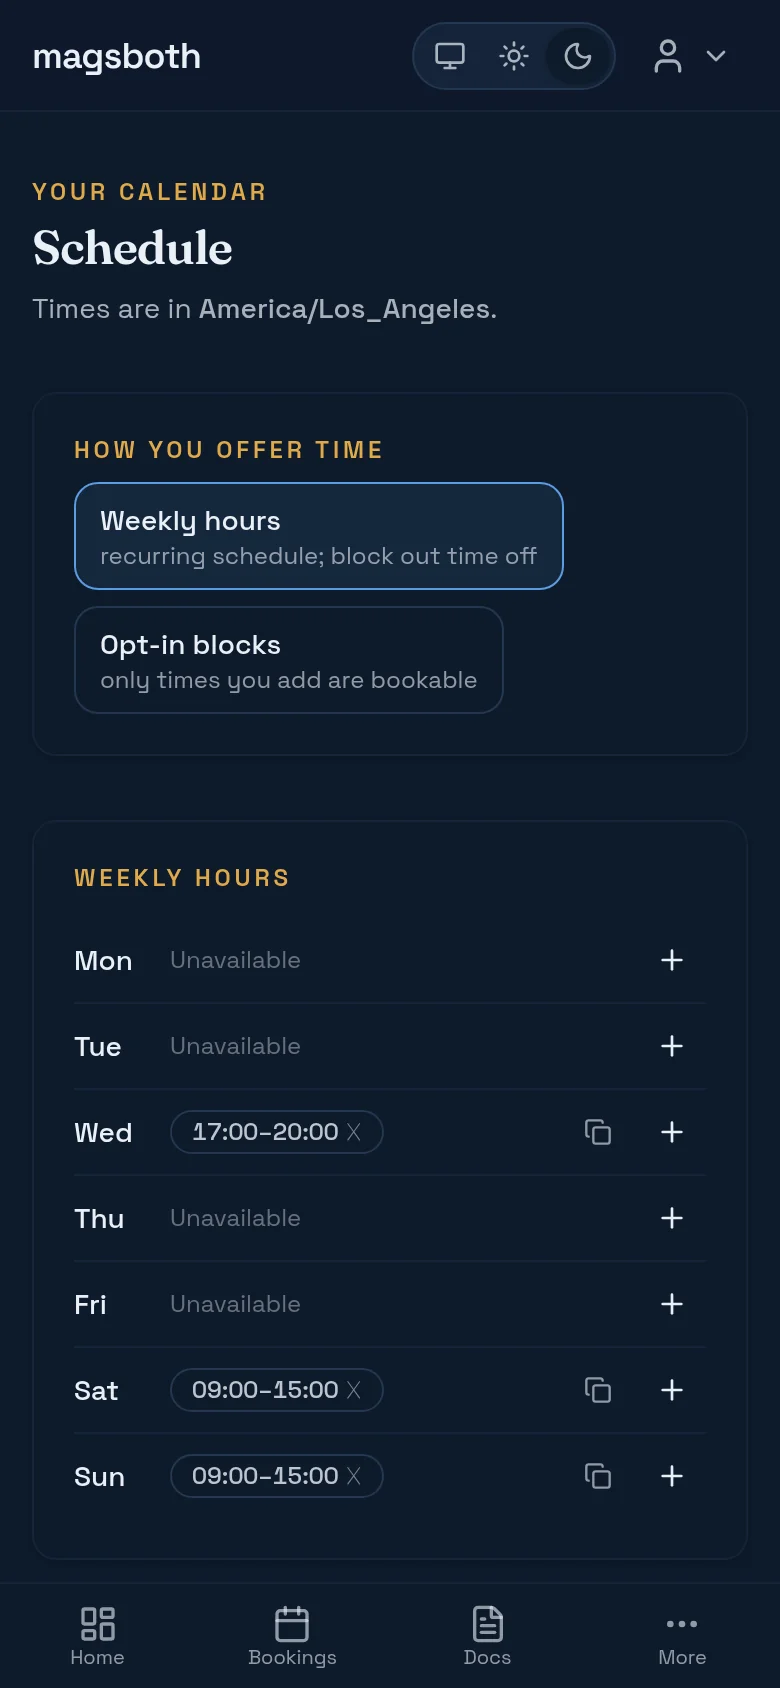
Availability is a weekly pattern (the hours you're generally willing to fly) plus the exceptions. Hit + on a day to add a window; add several if you break for a day job, and copy one day's hours to the rest of the week instead of typing them seven times. Everything is shown and stored in your own timezone, and students see slots converted to theirs.
Time off sits below the week: block a single day (a checkride, a wedding, an annual) or a range (leave the end date filled in). Either way it beats the weekly pattern.
Define what's bookable
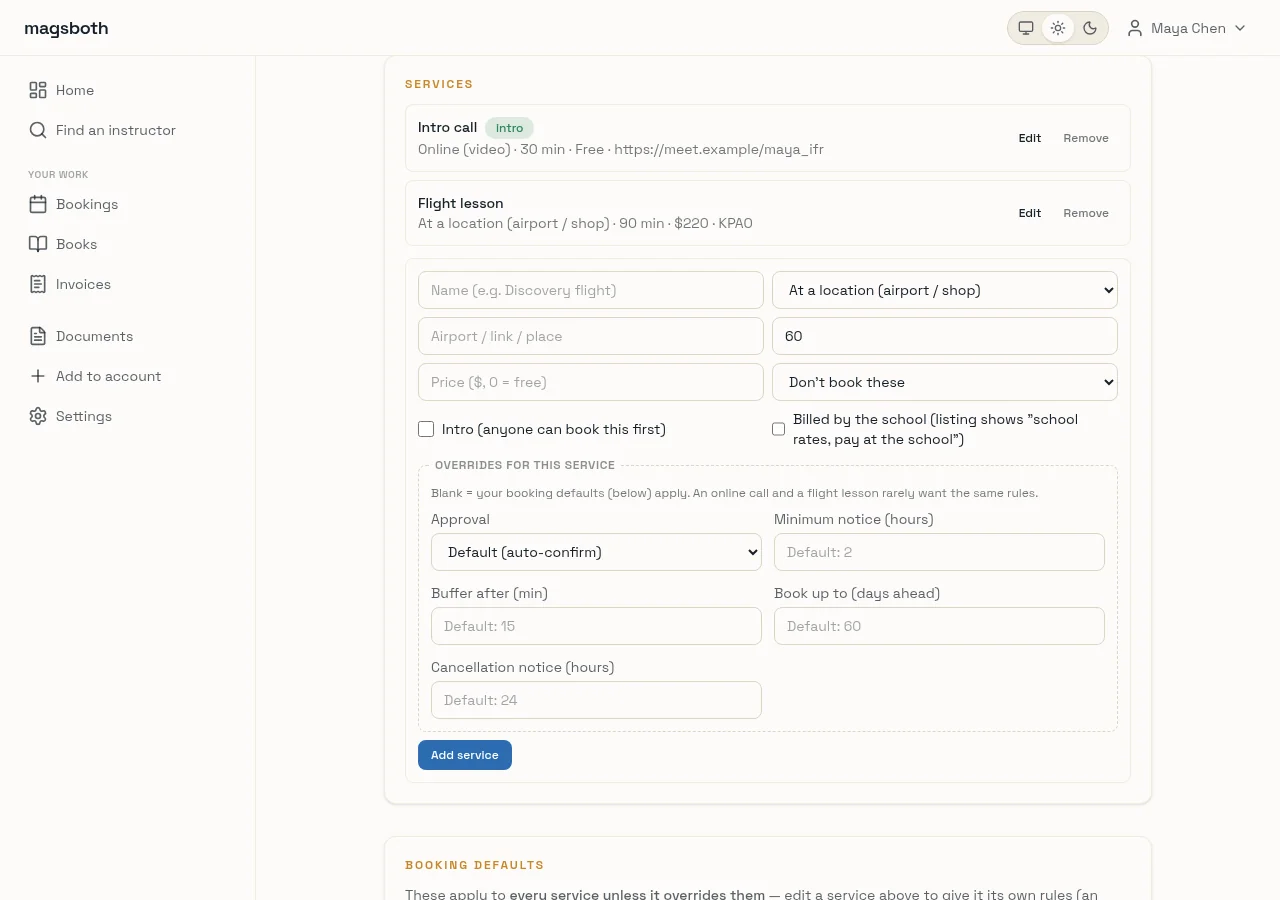
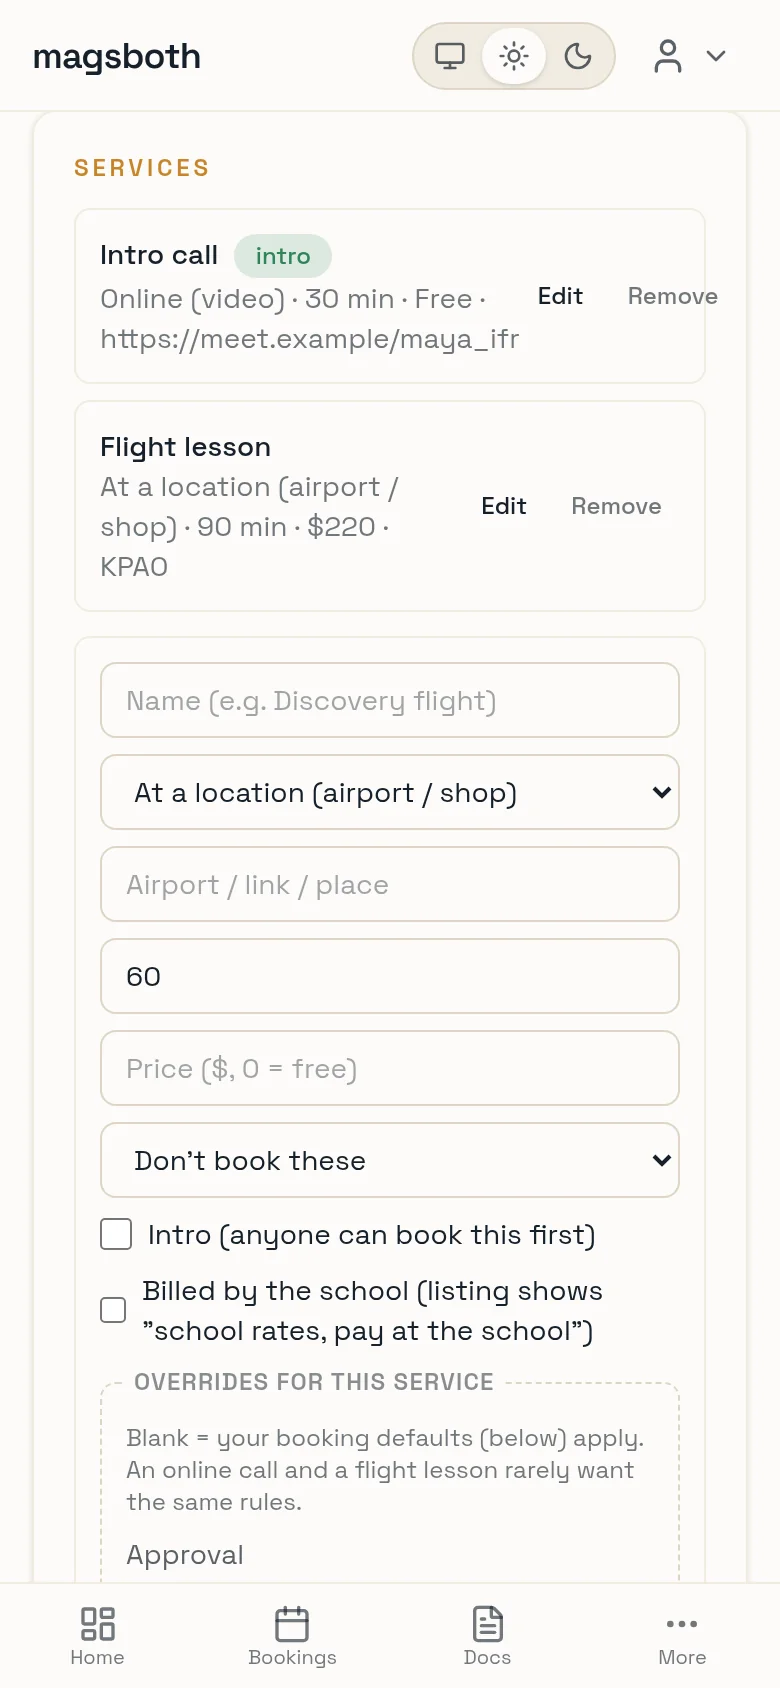
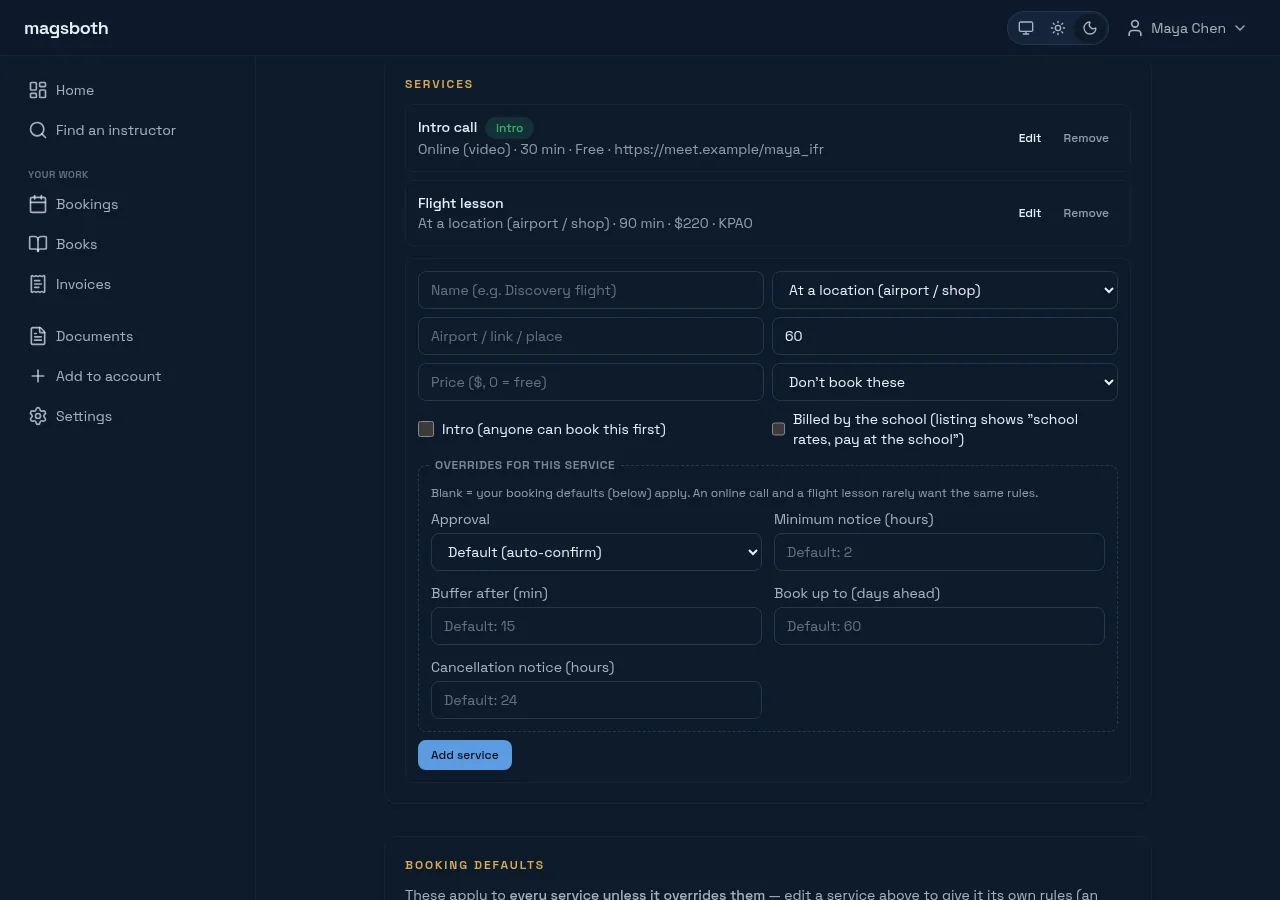
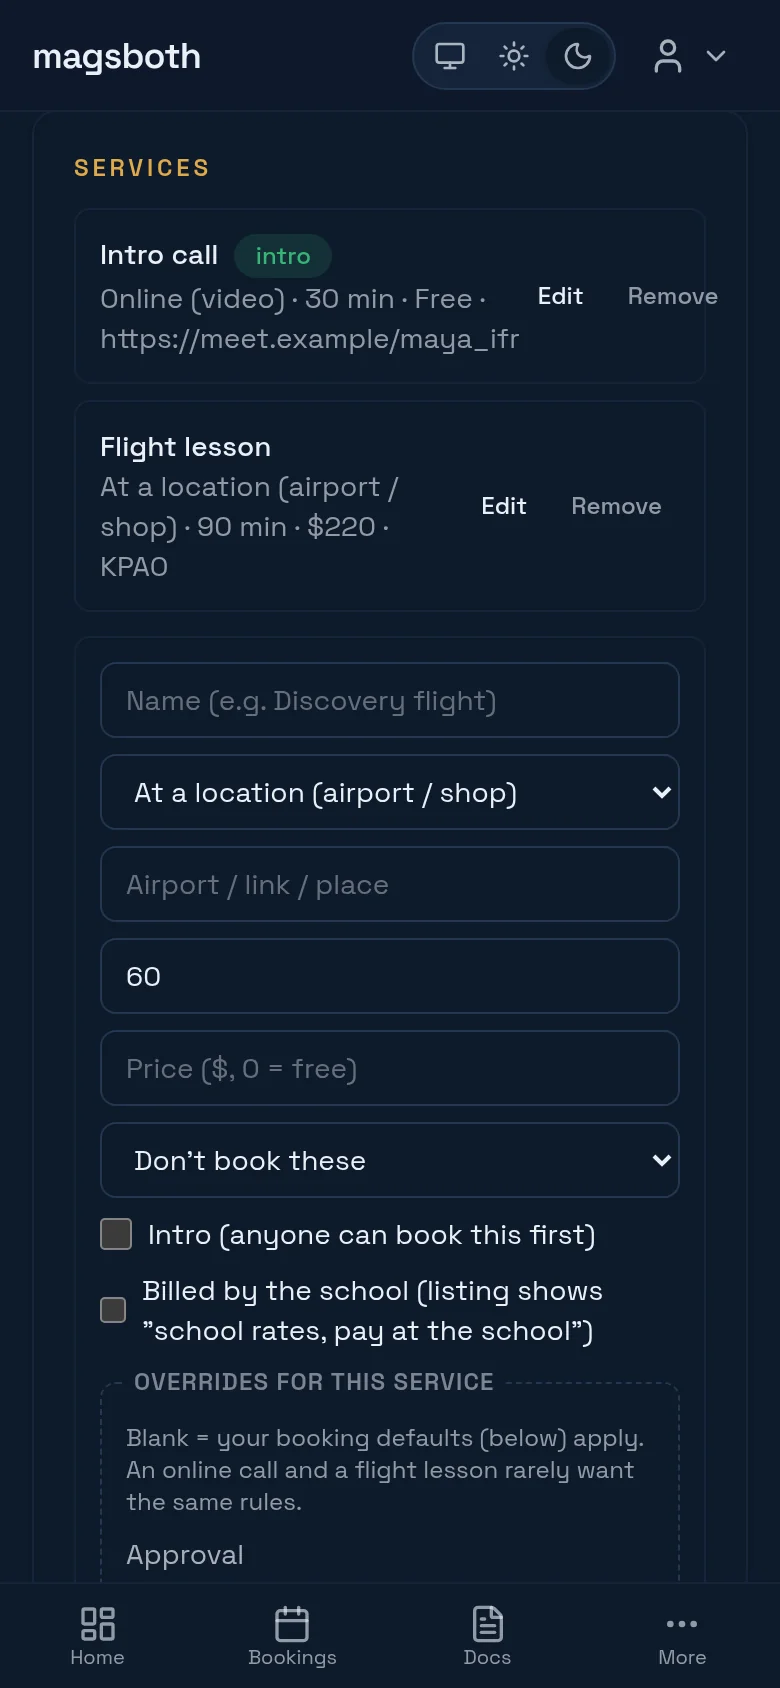
A service is a thing a student can book: a name, a duration, a price, and where it happens (online, at an airport, or at their location). Most CFIs want two or three: an intro call, a flight lesson, maybe ground.
Mark one service Intro. Anyone can book an intro; everything else requires a completed intro first. That's the single most useful setting on the page. It stops a stranger from putting a two-hour block on your Saturday before you've spoken.
- Require my approval. Off means the calendar is self-serve. On means requests wait for you, and the slot is held meanwhile.
- Minimum notice. How close to now someone can book. Two hours is a common answer; if you drive an hour to the field, make it longer.
- Buffer. Dead time after each session: the debrief that always runs long, plus putting the aircraft away.
- Cancellation notice. How late a student can cancel themselves. Past that they have to ask you, which is the conversation you actually want.
Take bookings
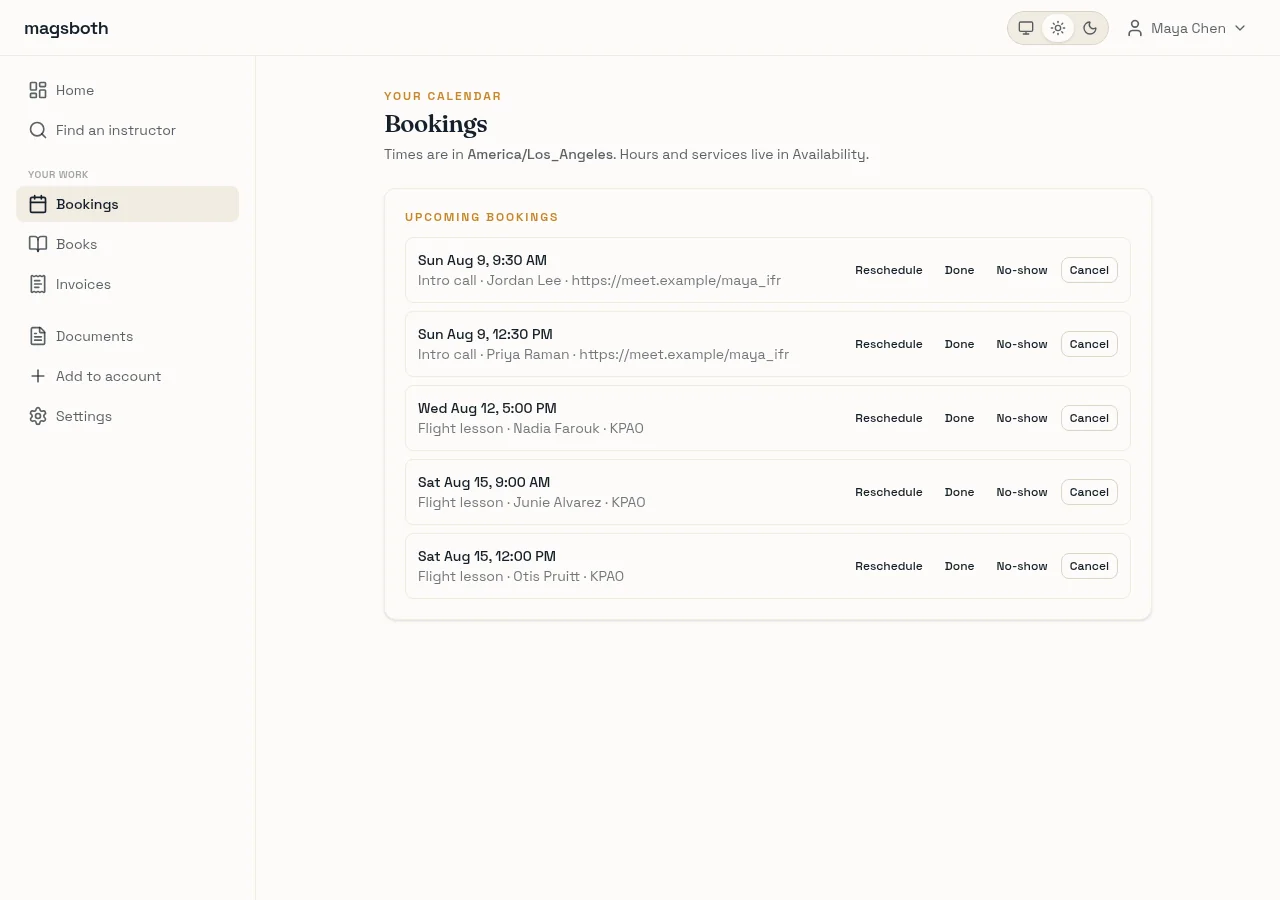
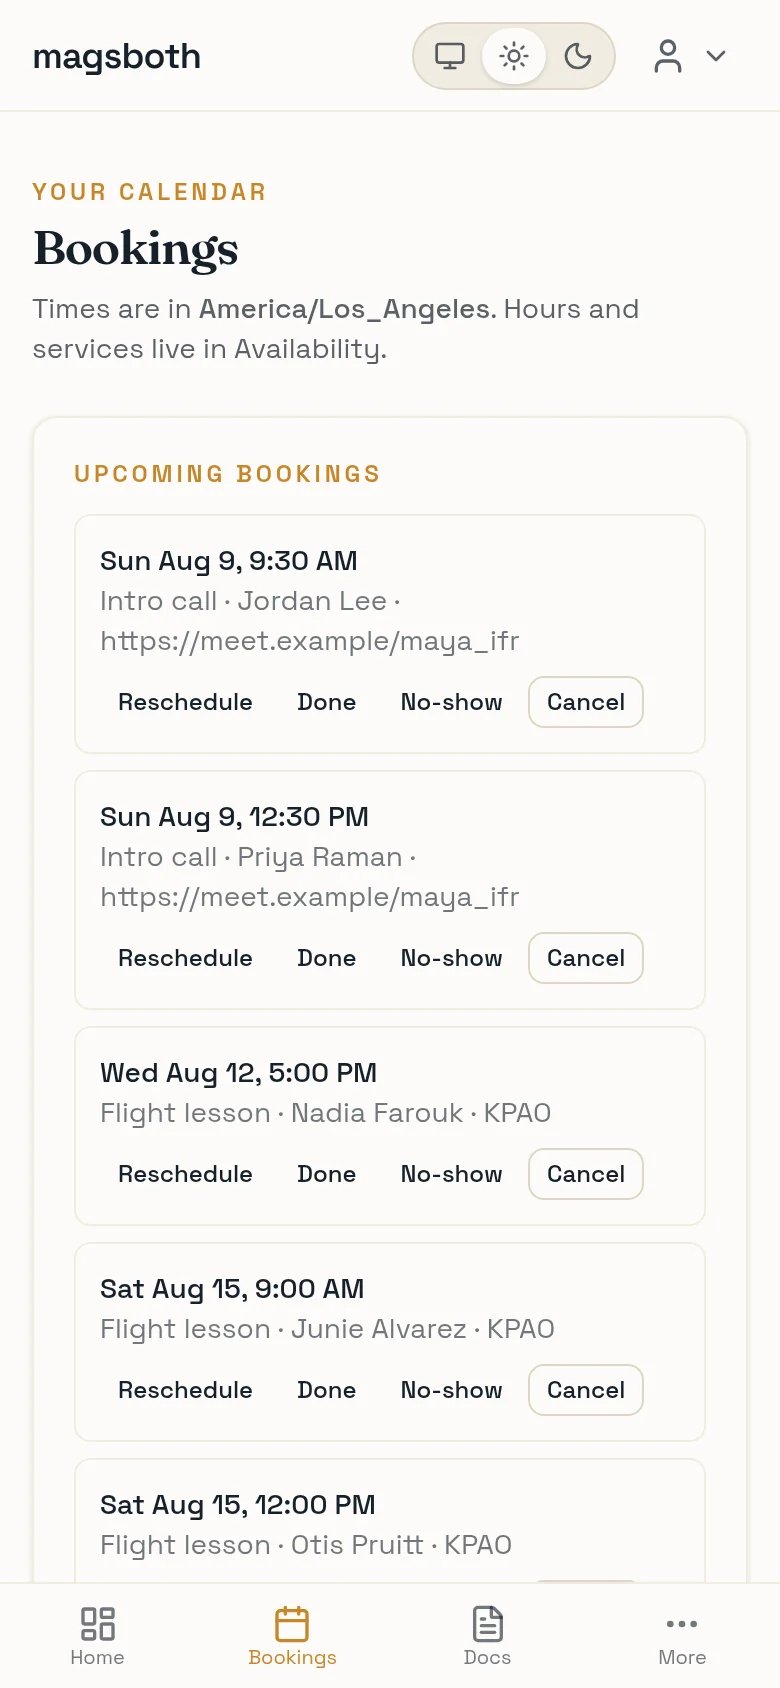
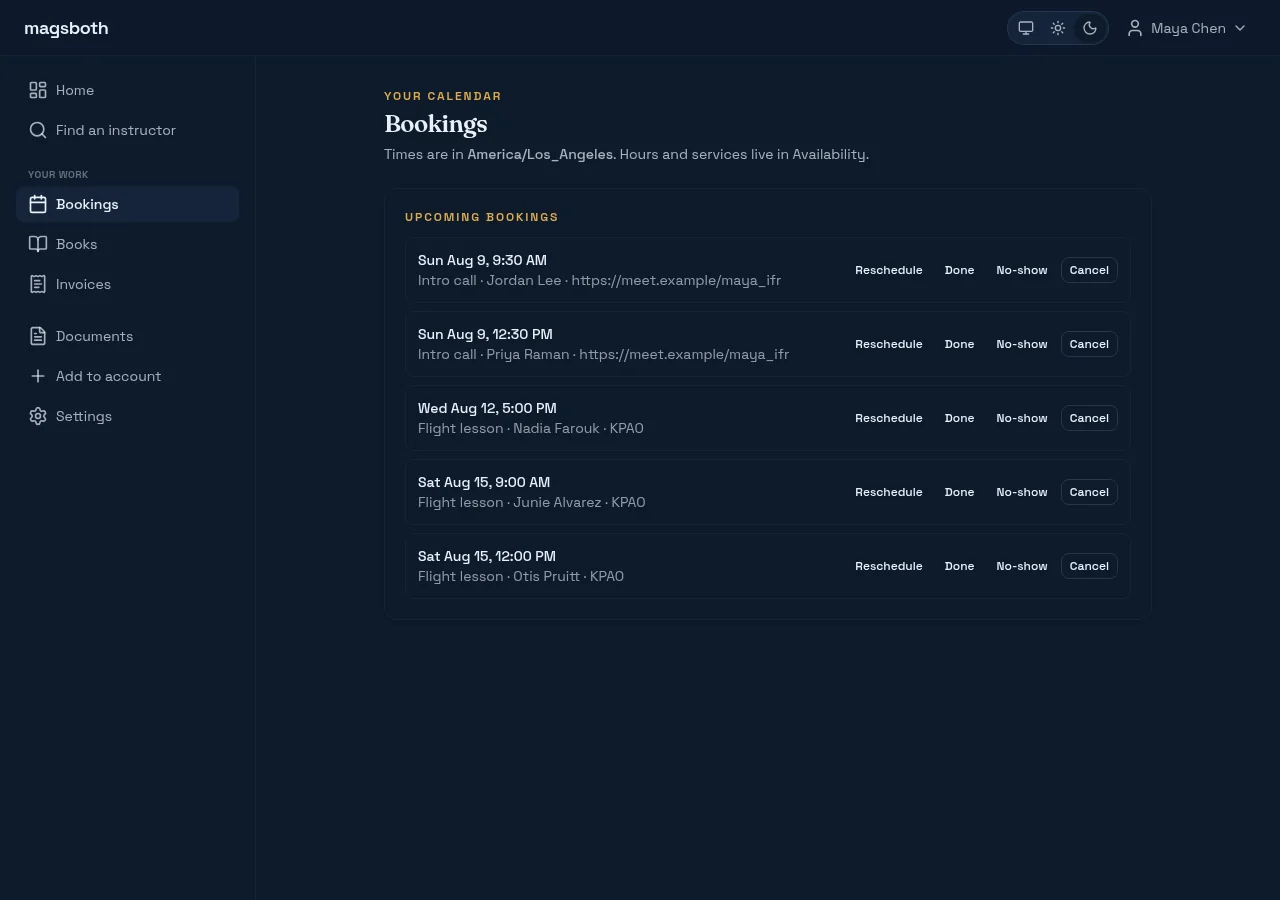
Bookings get their own page, with requests to approve at the top and upcoming lessons below, and the next few show on your dashboard. If you require approval, requests queue up first; otherwise they arrive confirmed. From each row you can reschedule, cancel, or mark it complete.
Completing a lesson posts its income to your books, priced from the service, dated to the lesson. That's the "collect at the lesson" default. If you'd rather invoice for it, do that instead: creating an invoice from a completed lesson moves the income onto the invoice, so it lands when the money does. Either way it's recorded once.
Send waivers and endorsements
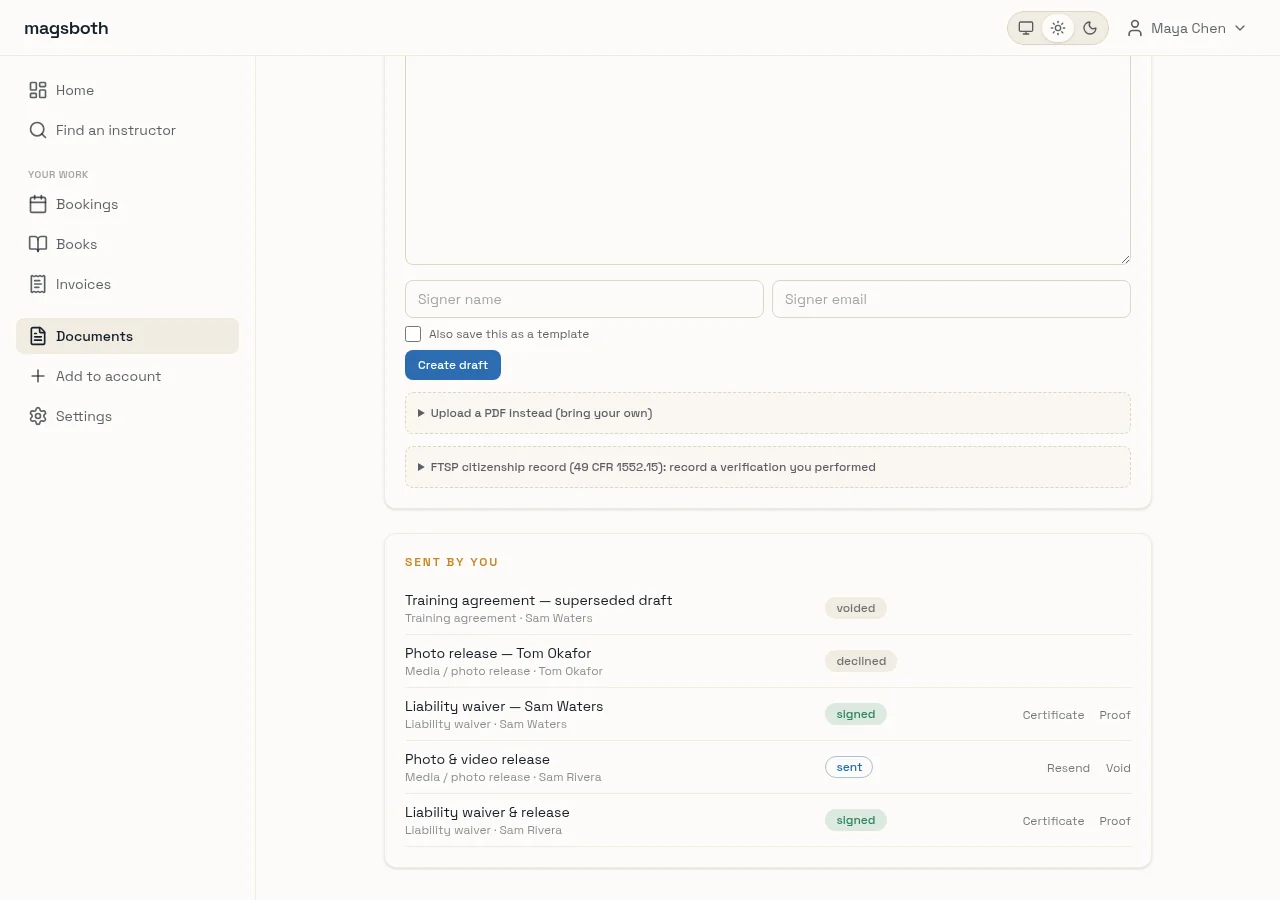
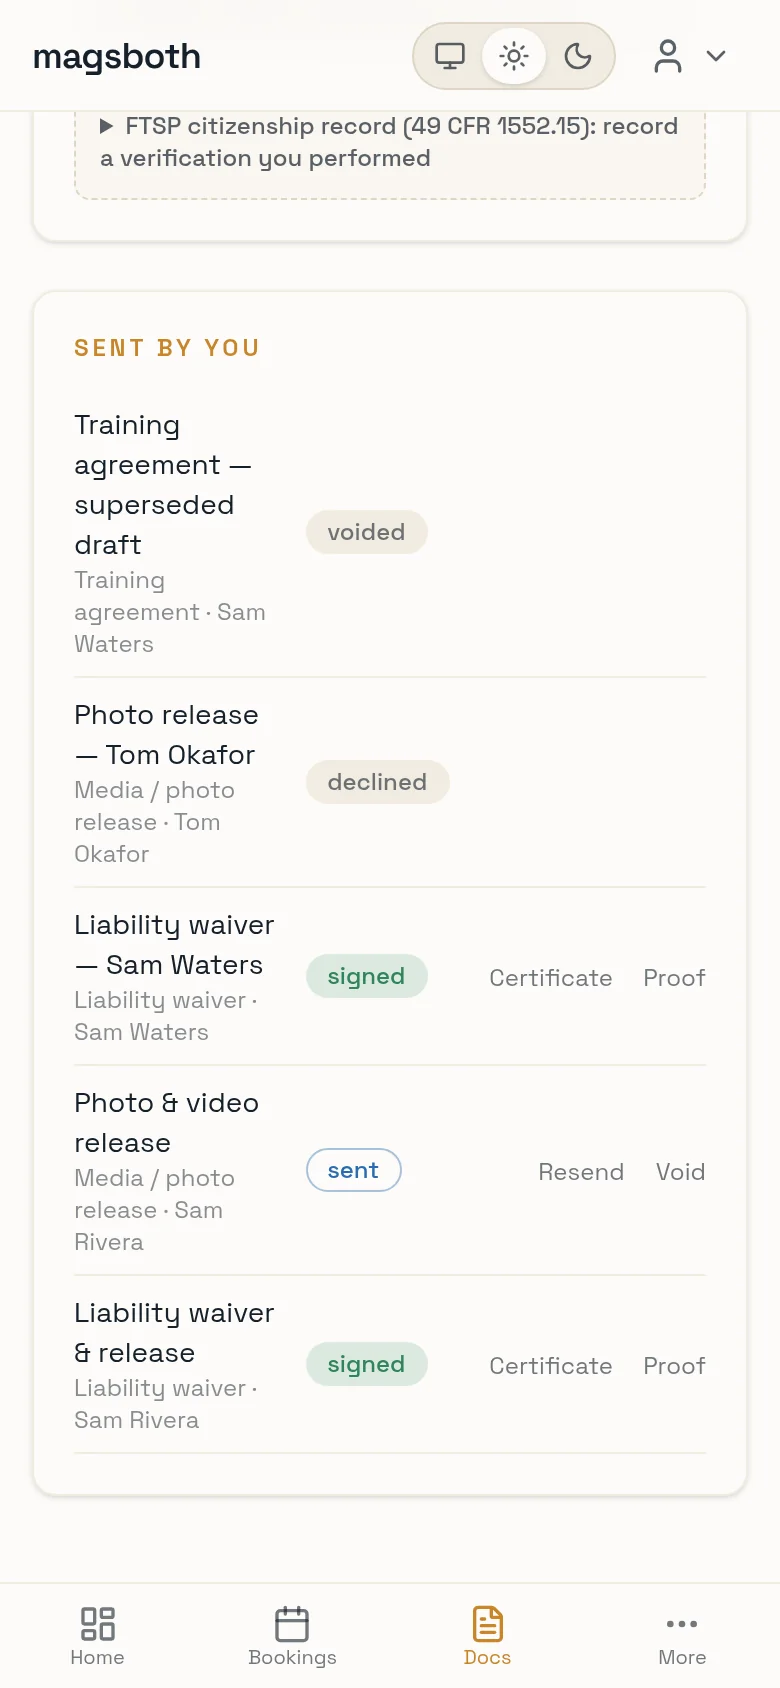
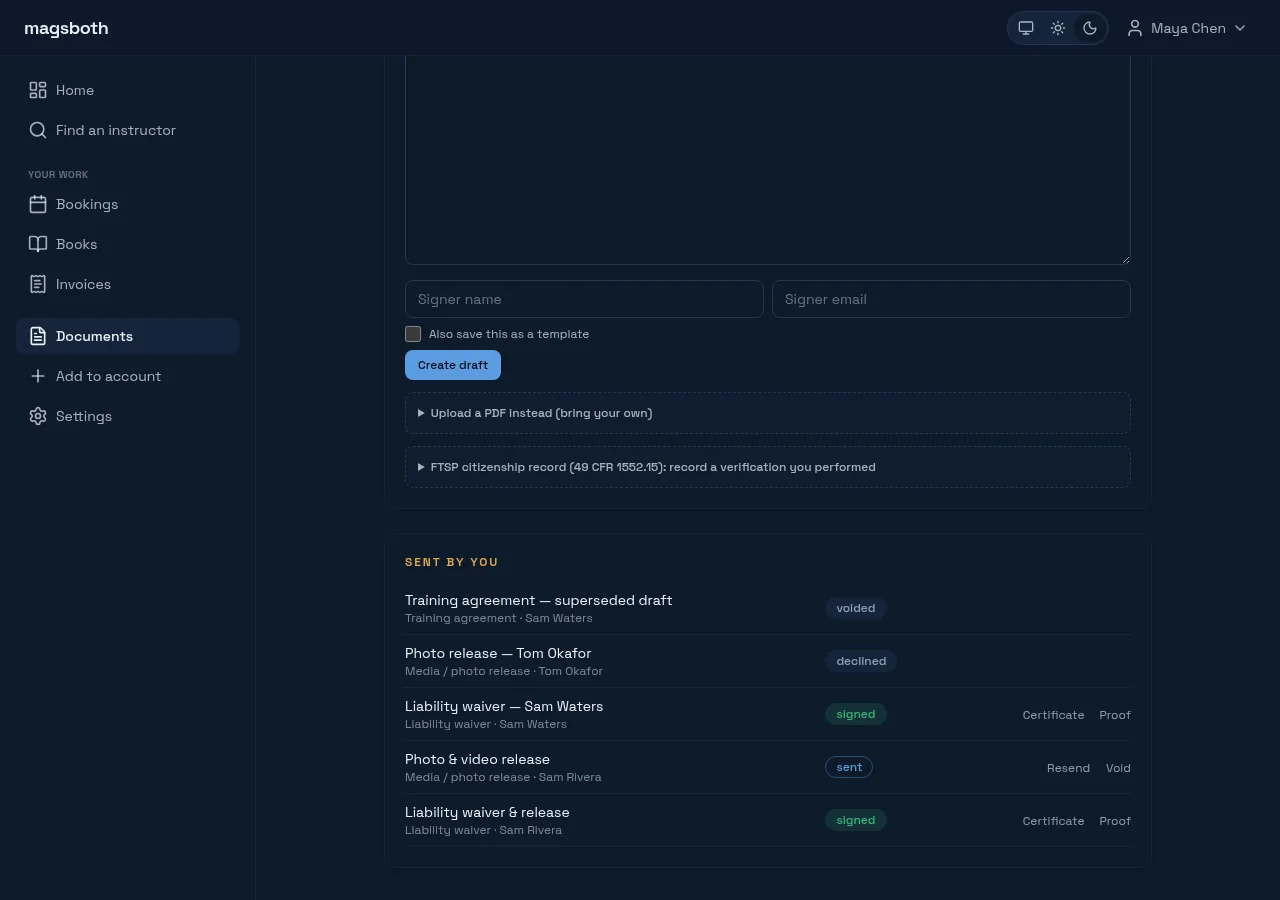
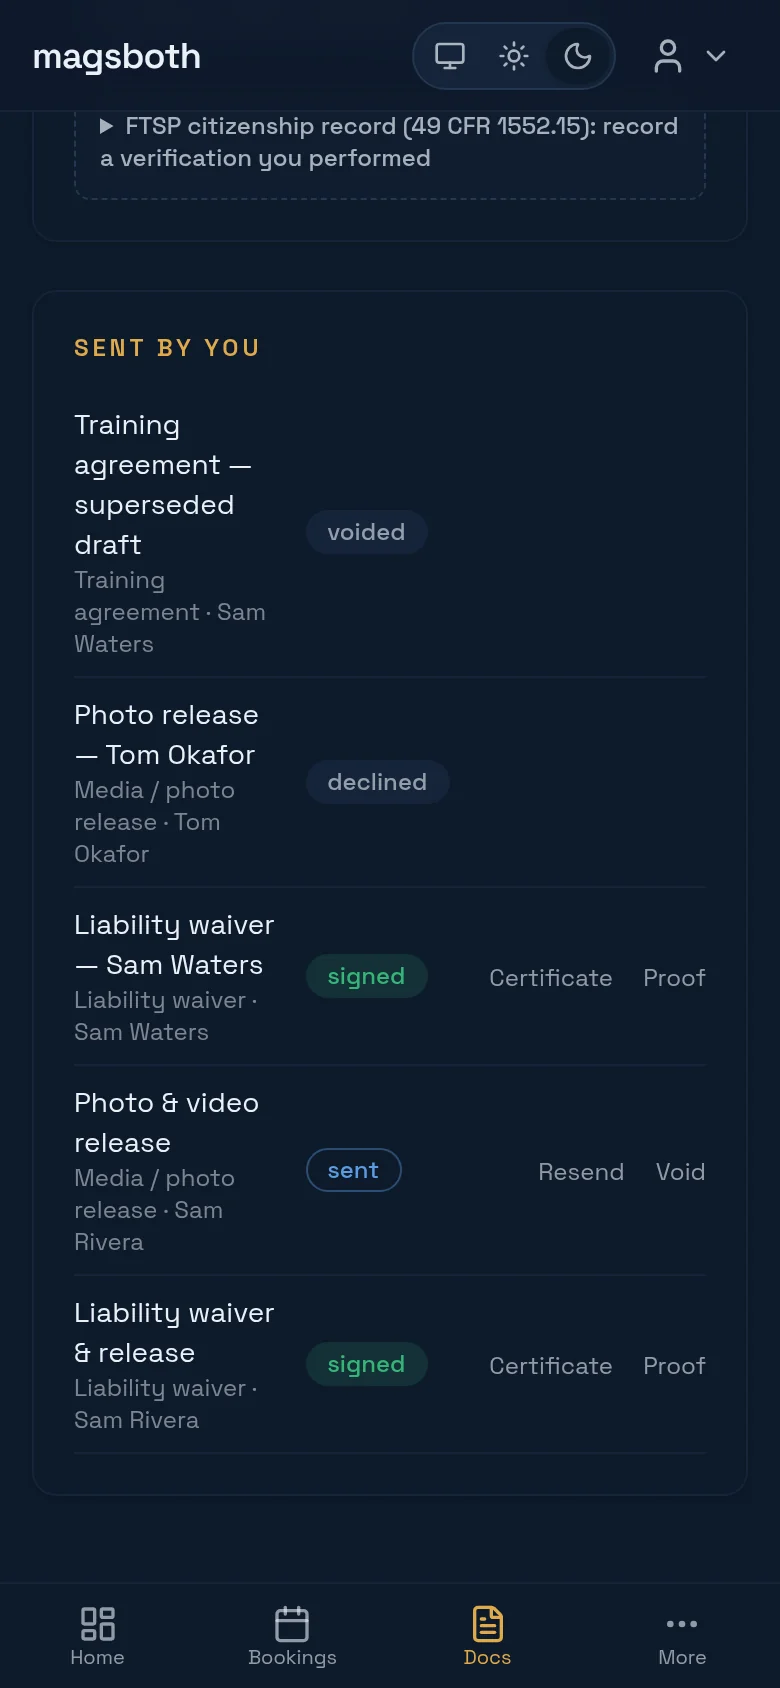
Documents is a small e-sign shop. Start from a plain-language starter (liability waiver, media release, training agreement, rental policy), edit the wording, or upload a PDF you already use. Add the signer, send it, and they get a link.
The student doesn't need an account; the link signs on its own. If they do have one, it shows up on their dashboard too.
Once signed, two things exist forever: a certificate (a printable page showing who signed what, when, and from where) and a proof bundle (the document, the signature record, and the hash chain that puts it in an append-only log which is externally anchored). If anyone ever disputes a waiver, that bundle is your answer. You can void an unsigned document; you can never quietly change a signed one.
Keep the records you're required to keep
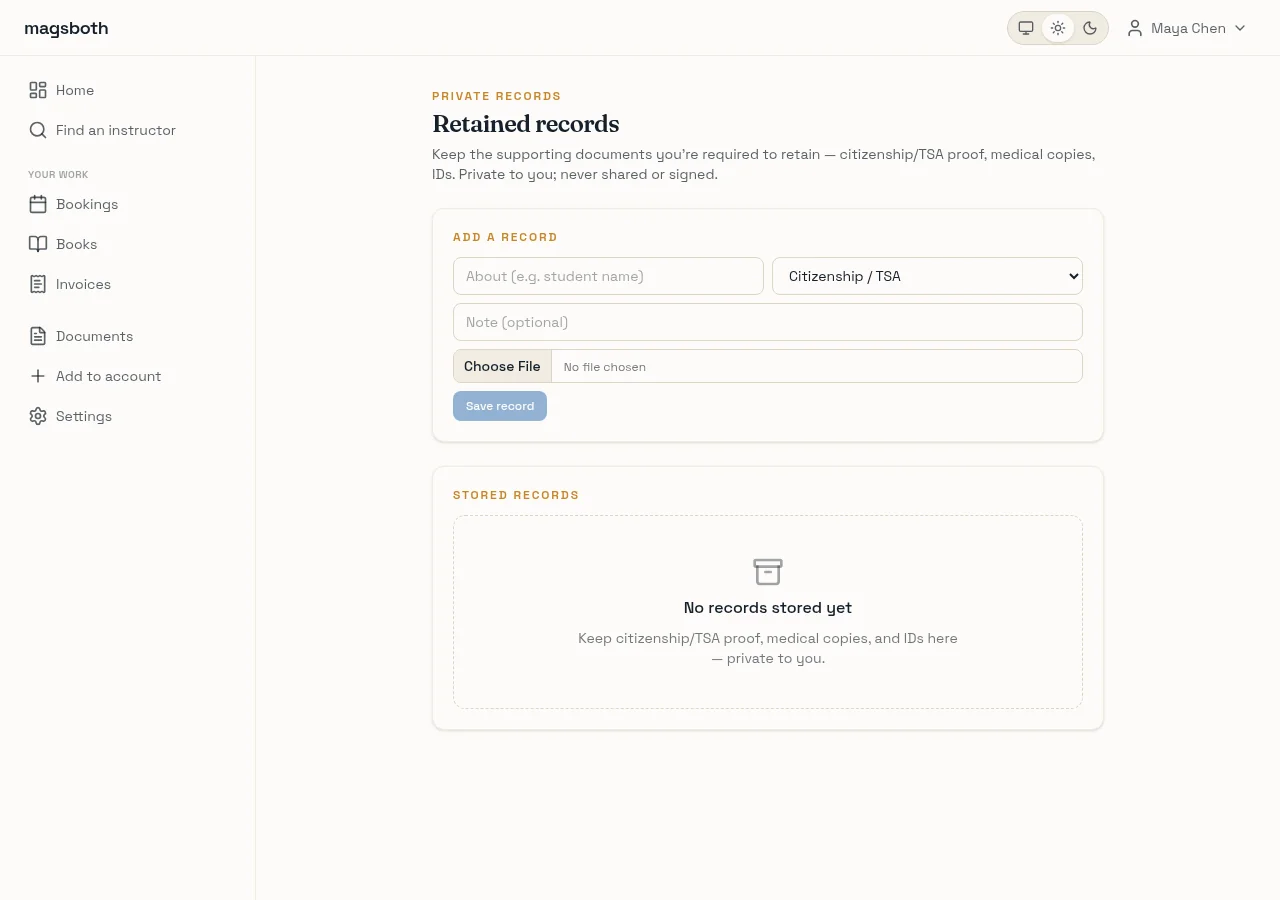
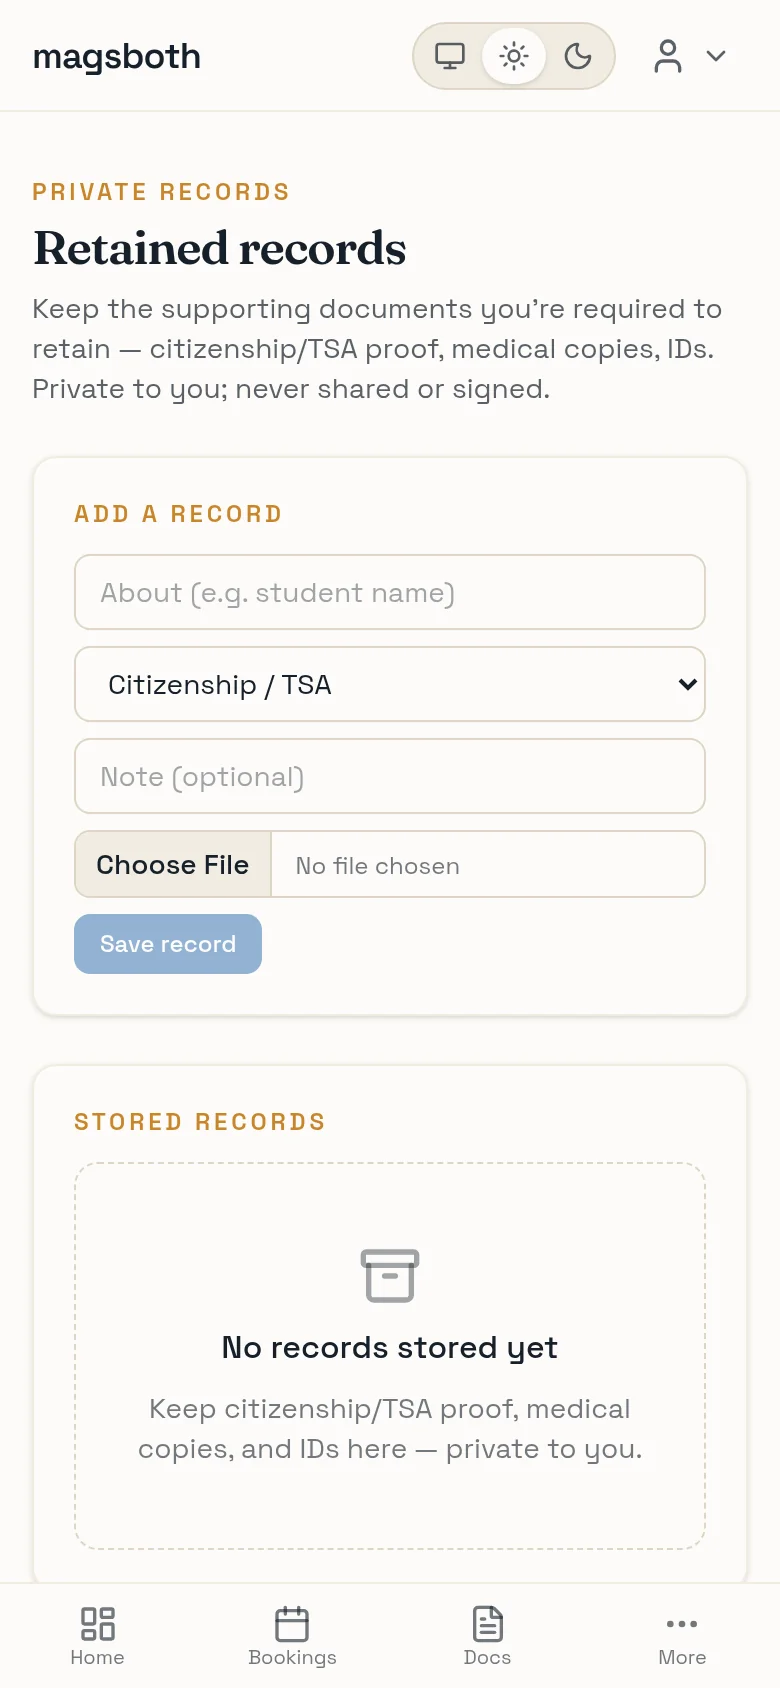
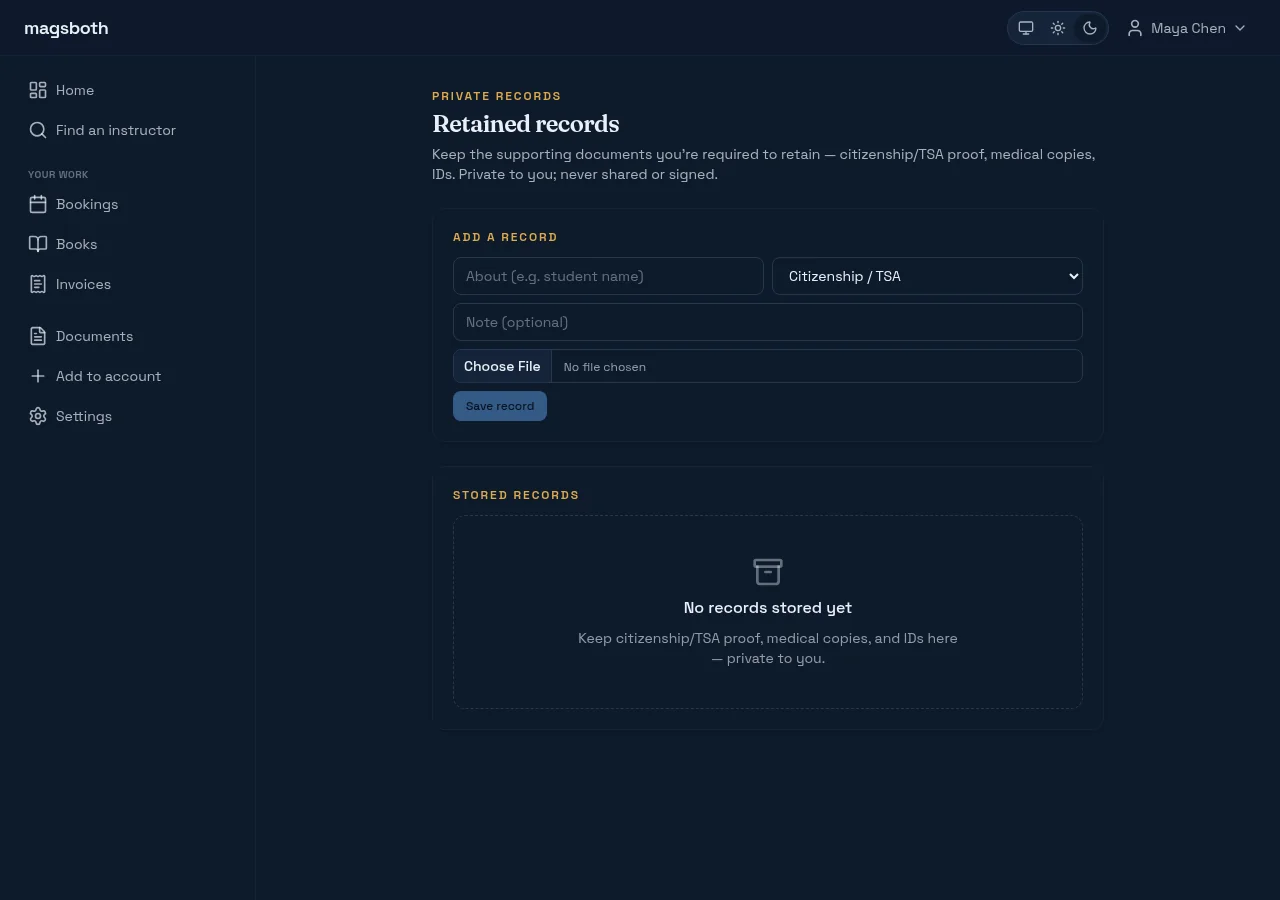
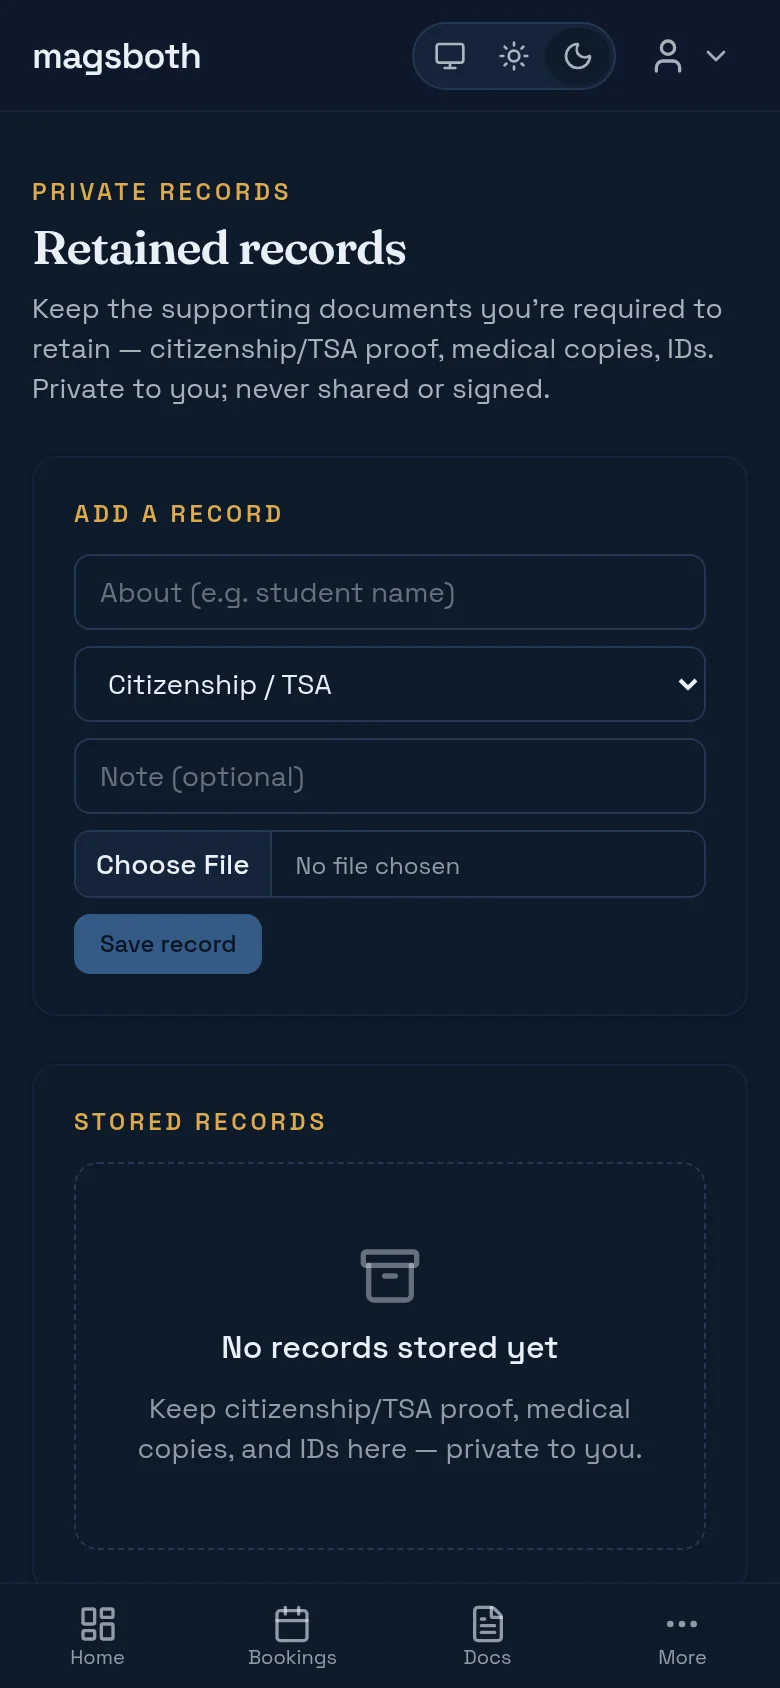
Separate from documents, and deliberately so: Records is a private cabinet for the supporting paper an instructor has to retain: citizenship/TSA proof, a copy of a medical, an ID. It's never shared, never sent for signature, and never shown to the student. It just needs to be somewhere better than your phone's camera roll when someone asks for it.
Keep the books
Books is cash-basis, double-entry underneath, and shaped like the tax form you actually file: Schedule C in the US, T2125 in Canada. The top of the page is the year at a glance: income, expenses, net, and cash on hand, then a breakdown by category.
Record an entry with a date, a category, and an amount. Lesson income from completed bookings is already there, marked (auto). Nothing is ever deleted. A mistake gets voided, which leaves a struck-through row and an unbroken trail.
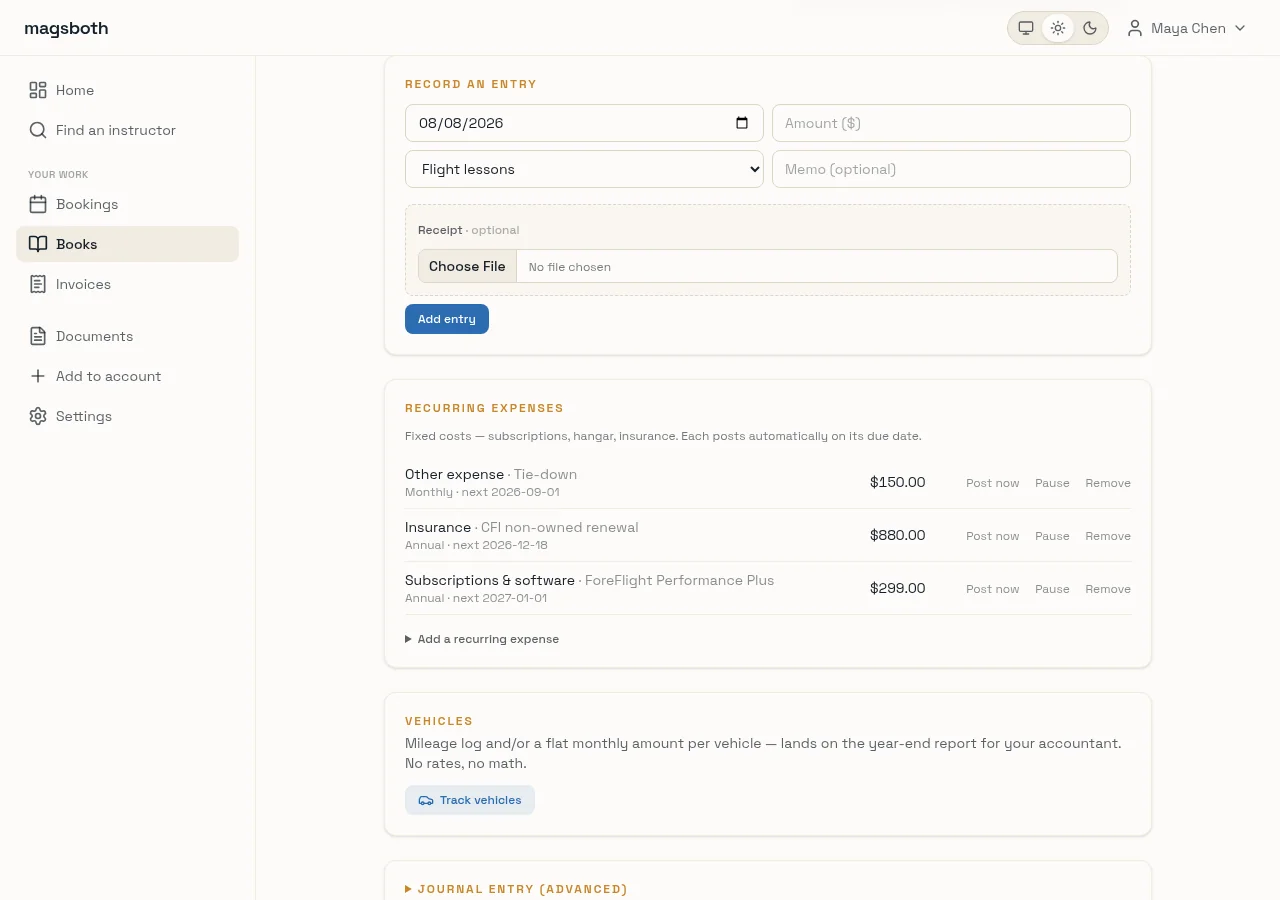
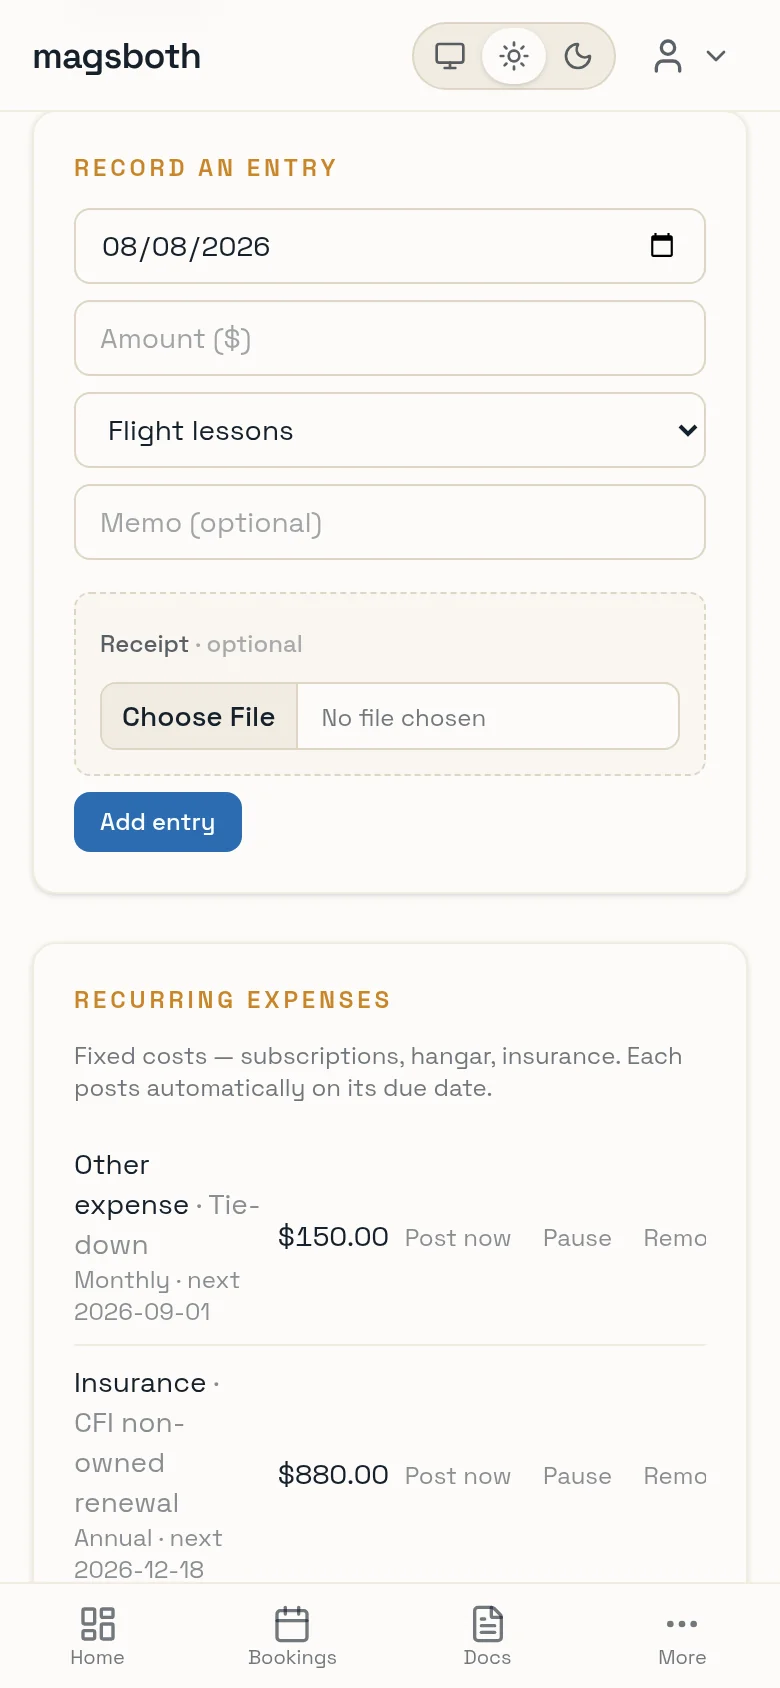
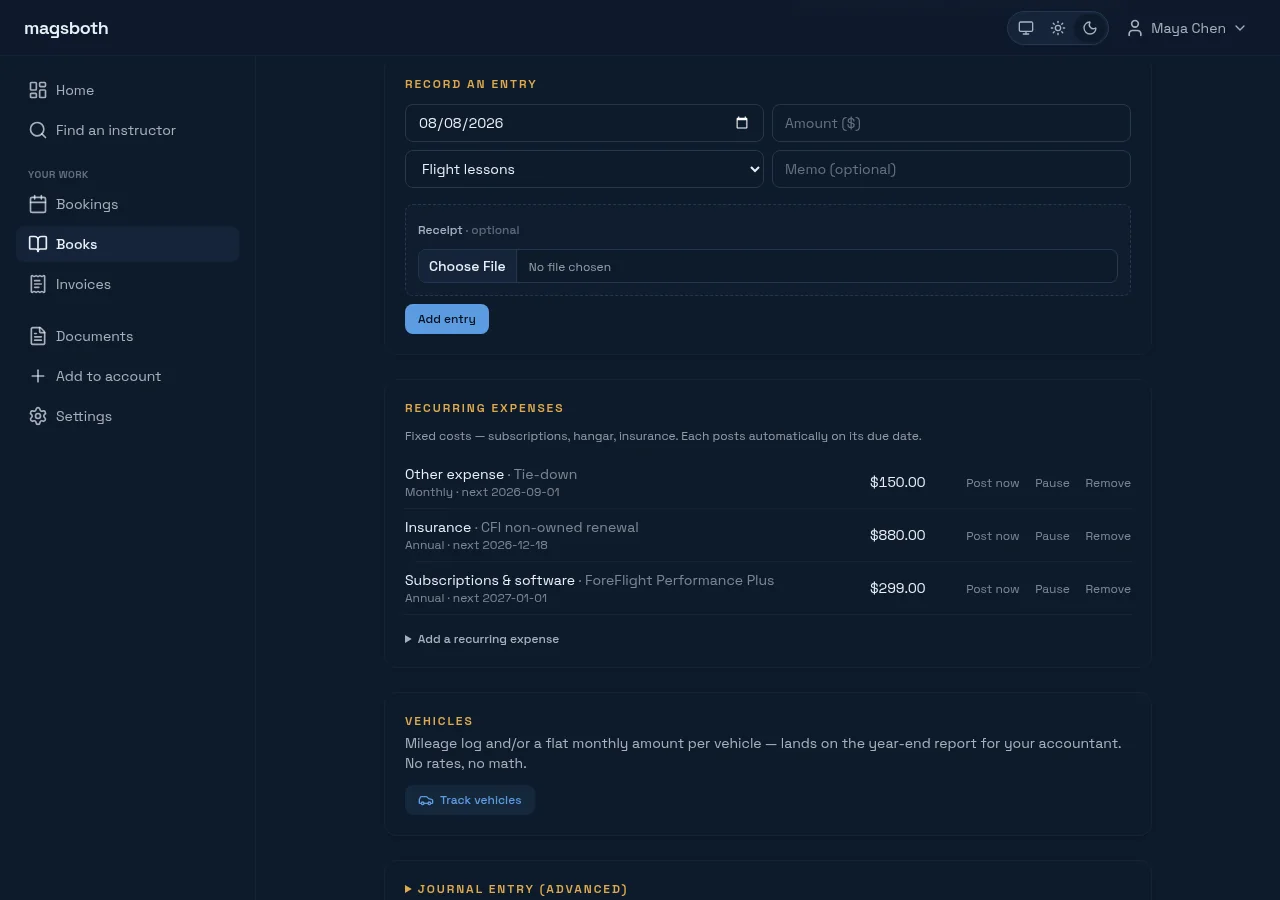
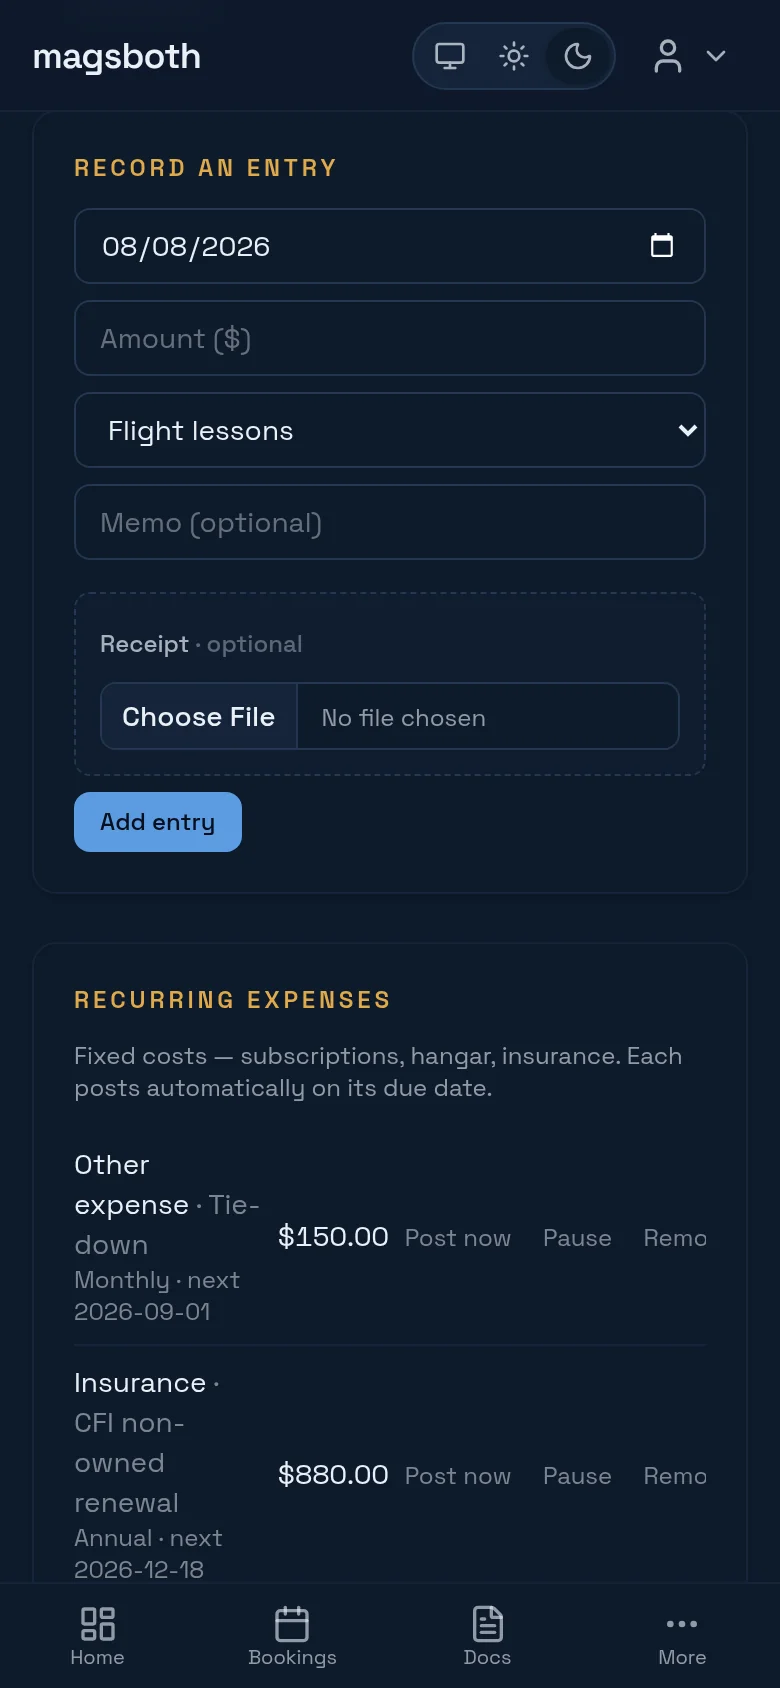
Every entry can carry a receipt: photograph it, or drop in the PDF the FBO emailed you. magsboth reads what it can off the file (date, total, vendor) and pre-fills the entry so you're checking numbers rather than typing them. The file is stored with the entry, which is the part that matters if you're ever asked to substantiate a deduction.
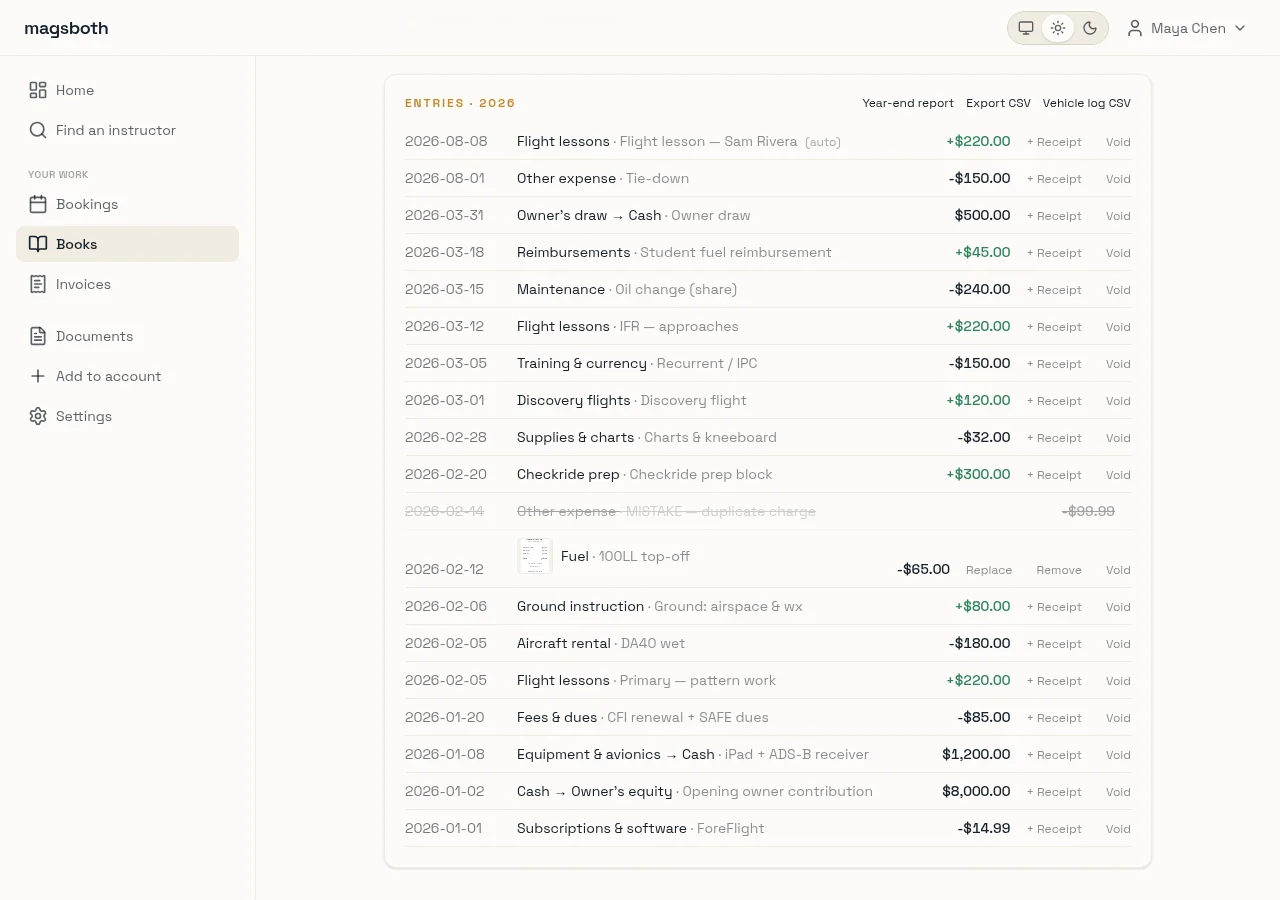
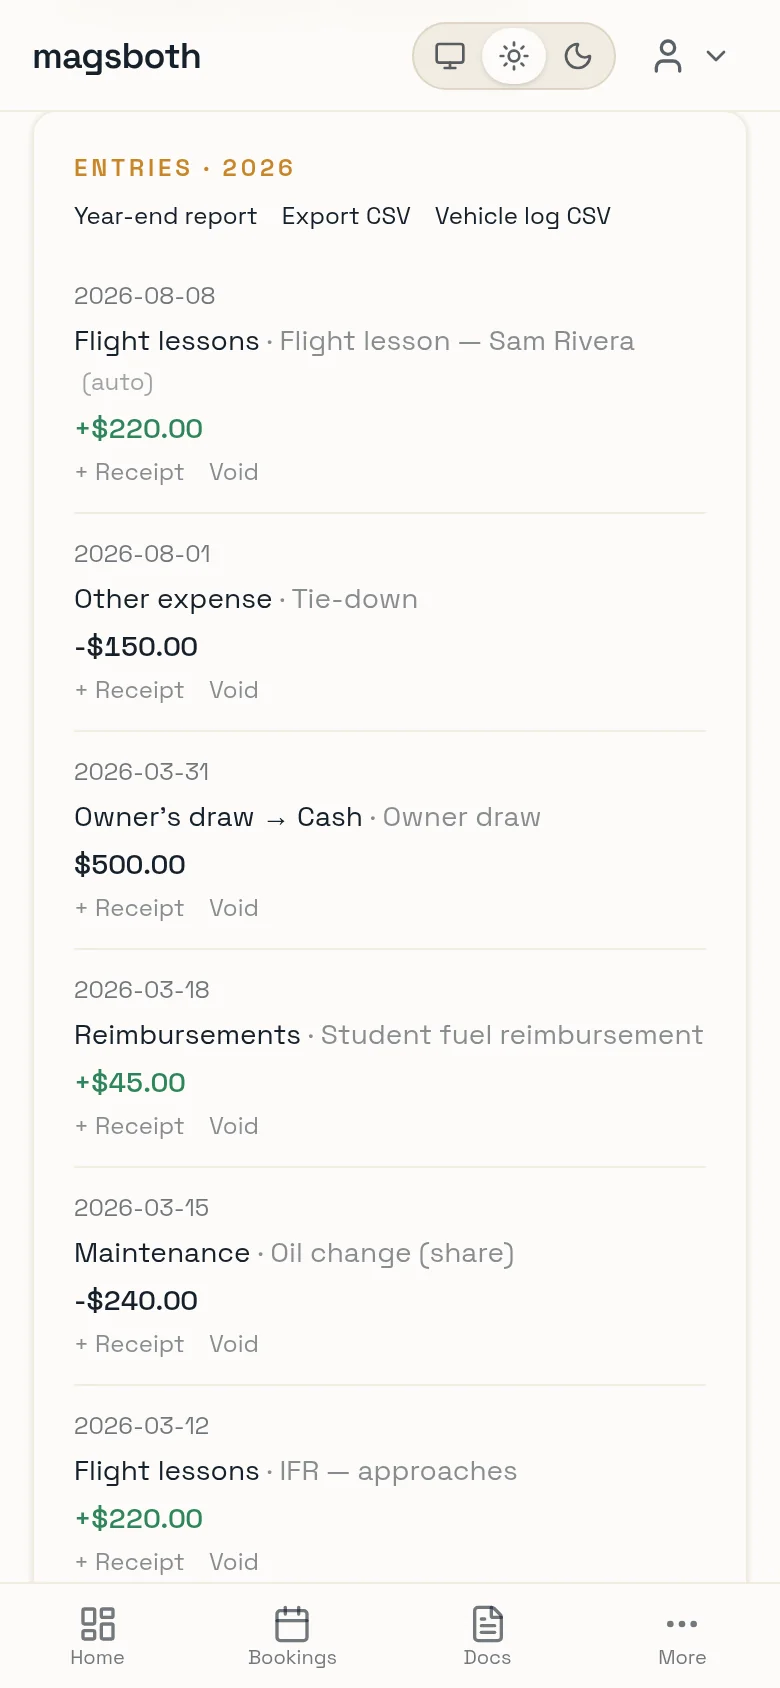
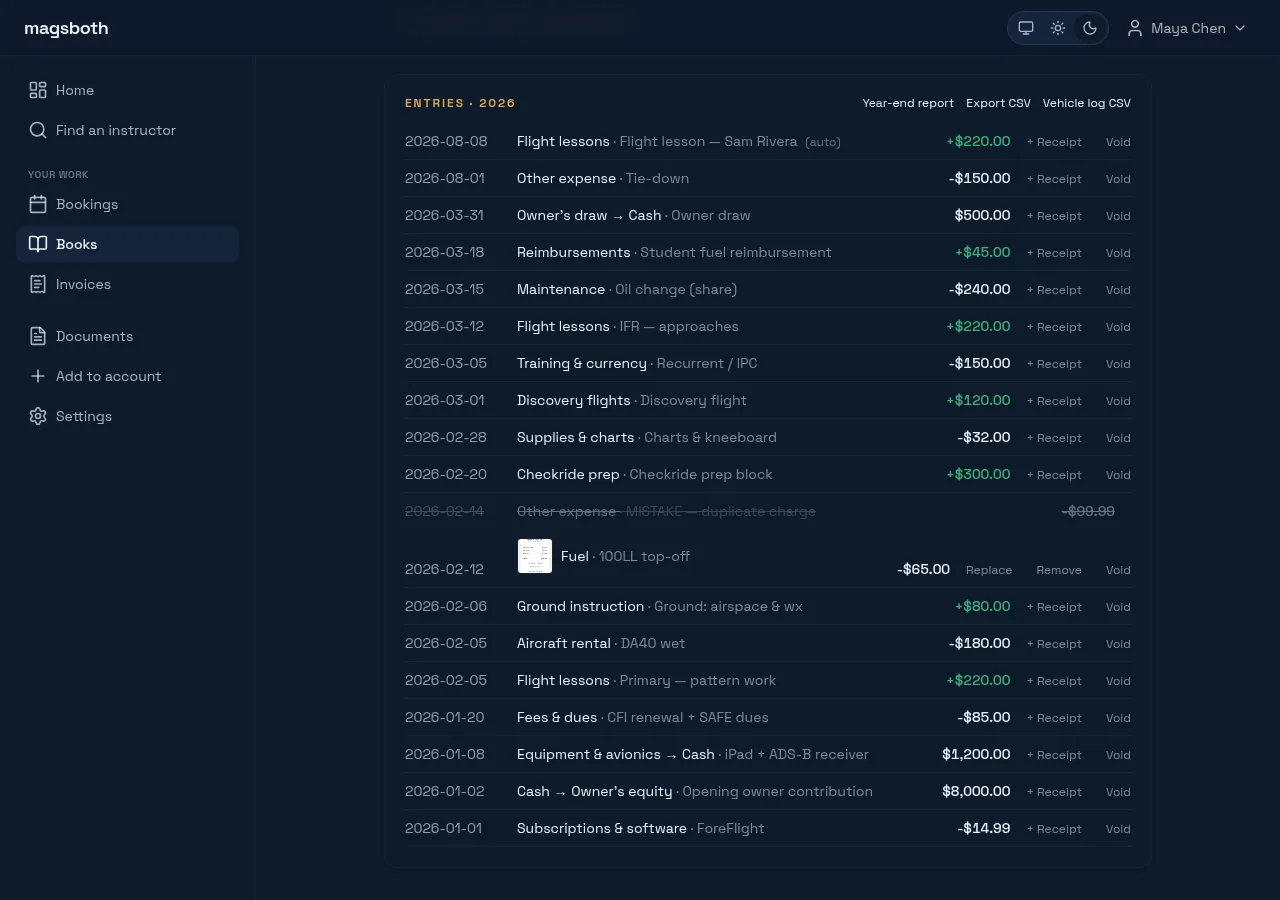
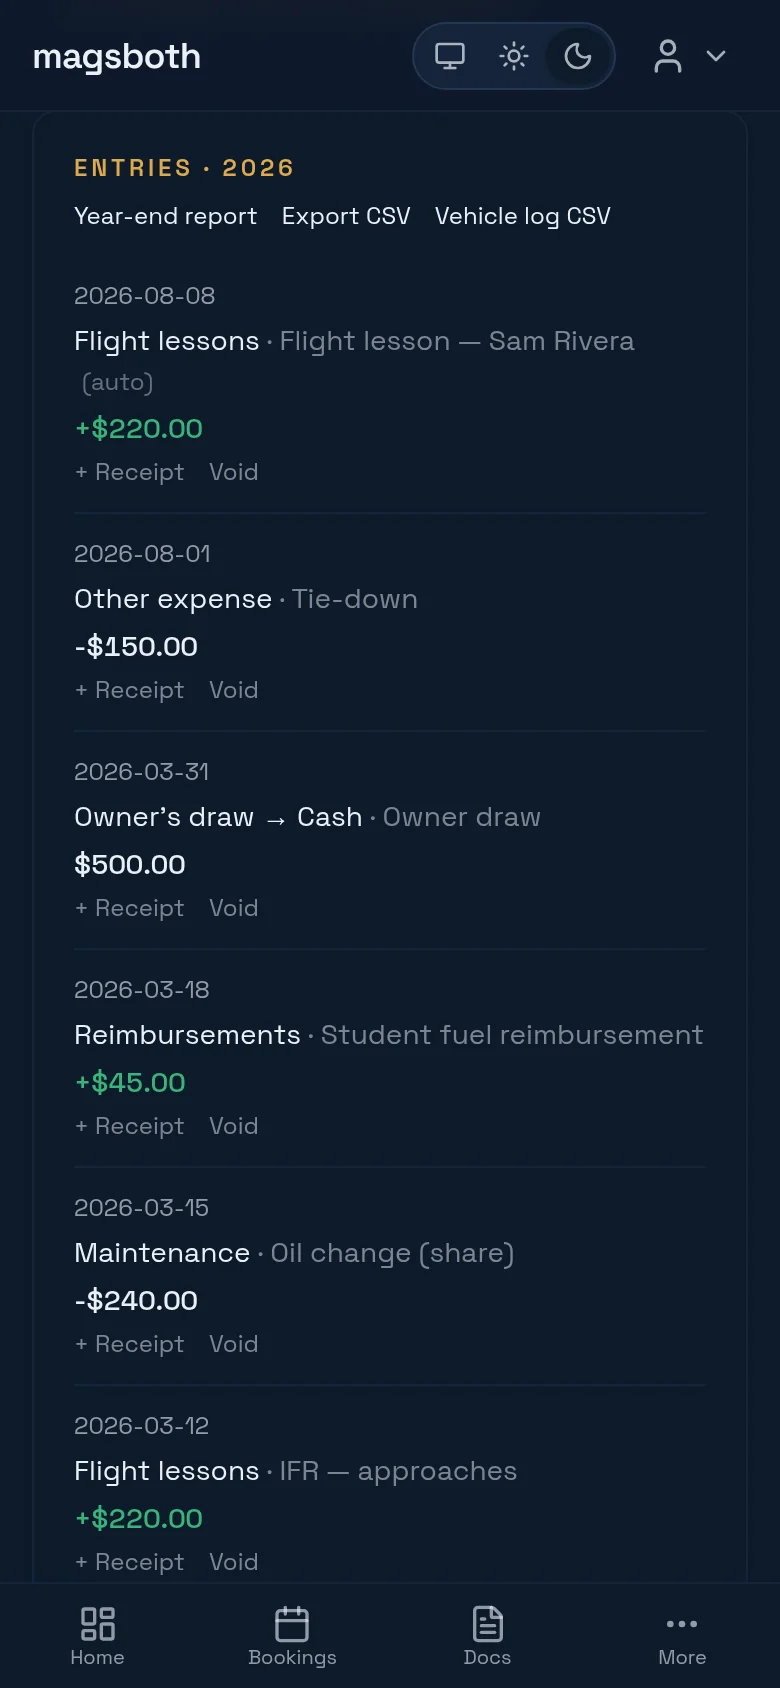
At the bottom of the page: Year-end report for a printable summary by category, and Export CSV for the version your accountant will ask for.
Track the car
Your car is probably your biggest untracked deduction, and every jurisdiction prices it differently: standard mileage rate, logbook percentage, per-kilometre. magsboth records facts, never money: distances and odometer readings, no rates, no computed deduction. Your accountant applies whatever your jurisdiction allows.
Add the vehicle under Settings → Vehicles, then log distance entries: date, distance, purpose. A per-trip log is the gold standard, but if you won't keep one, a single entry a month with your best estimate, labeled as one, is an honest record too. Note the odometer on January 1 and December 31 and the year's total distance falls out, which is what turns business miles into a business-use percentage.
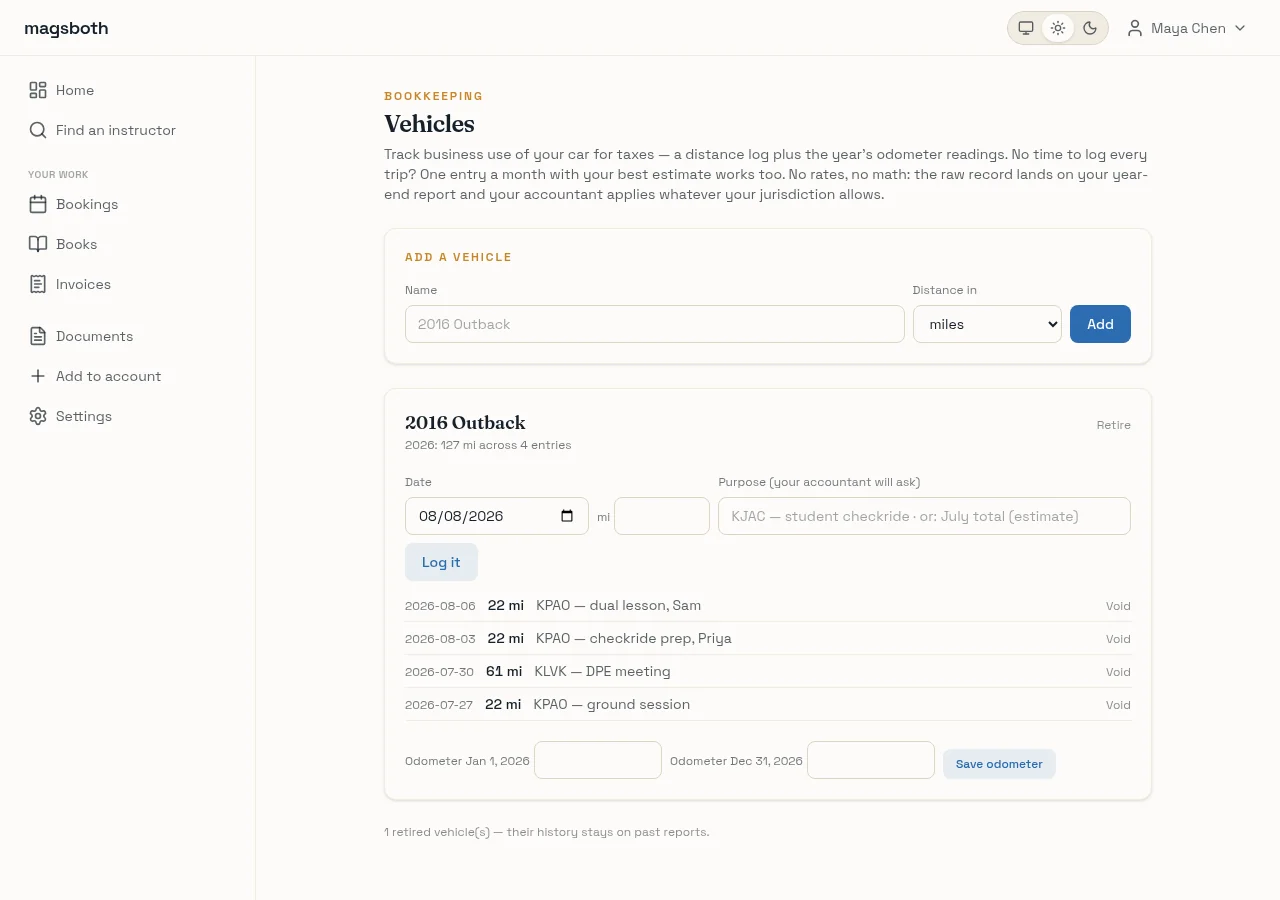
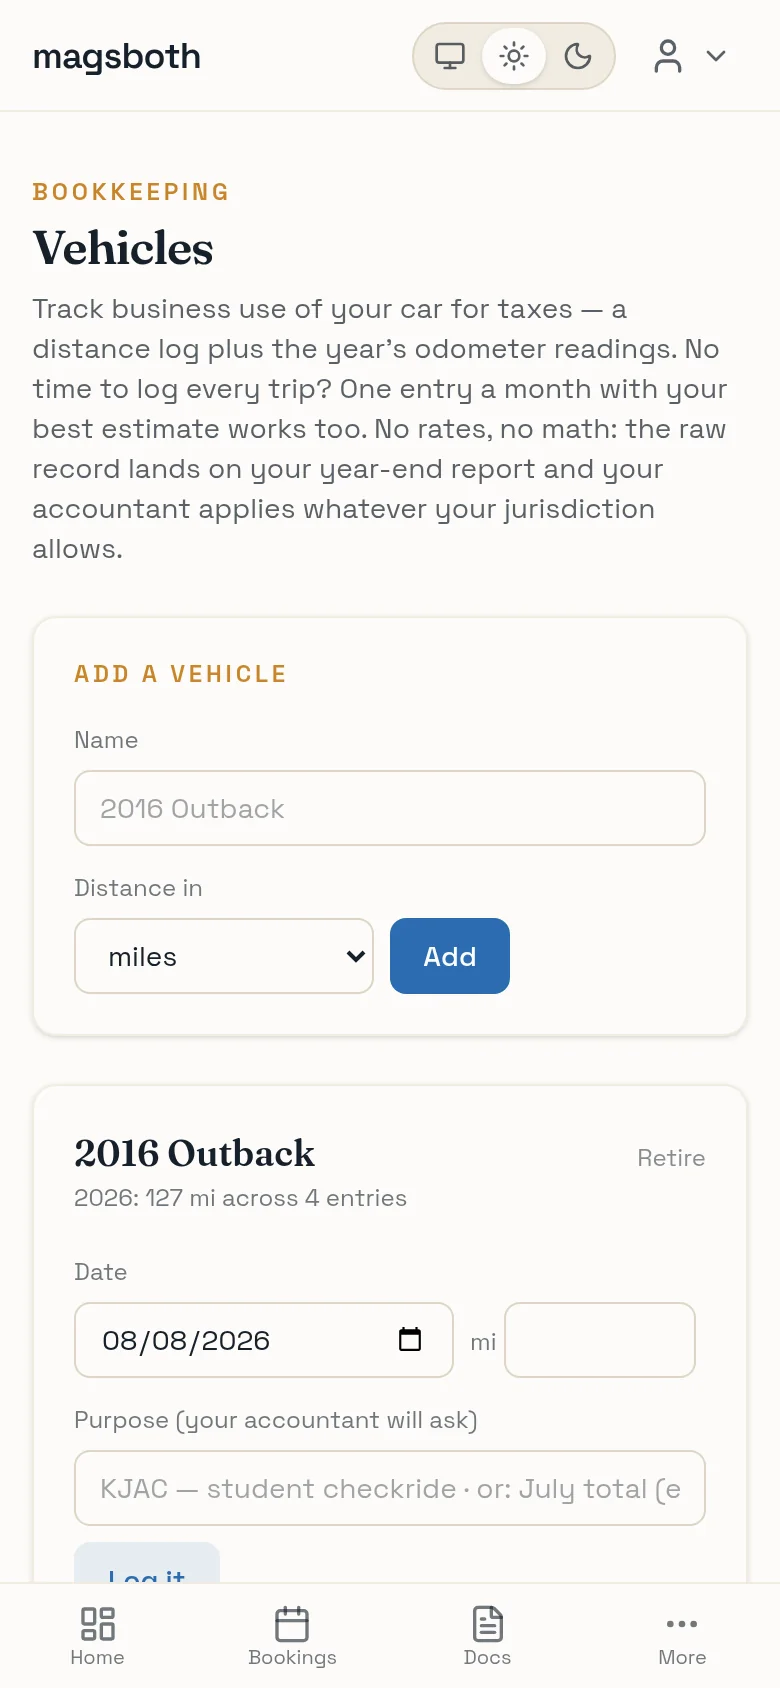
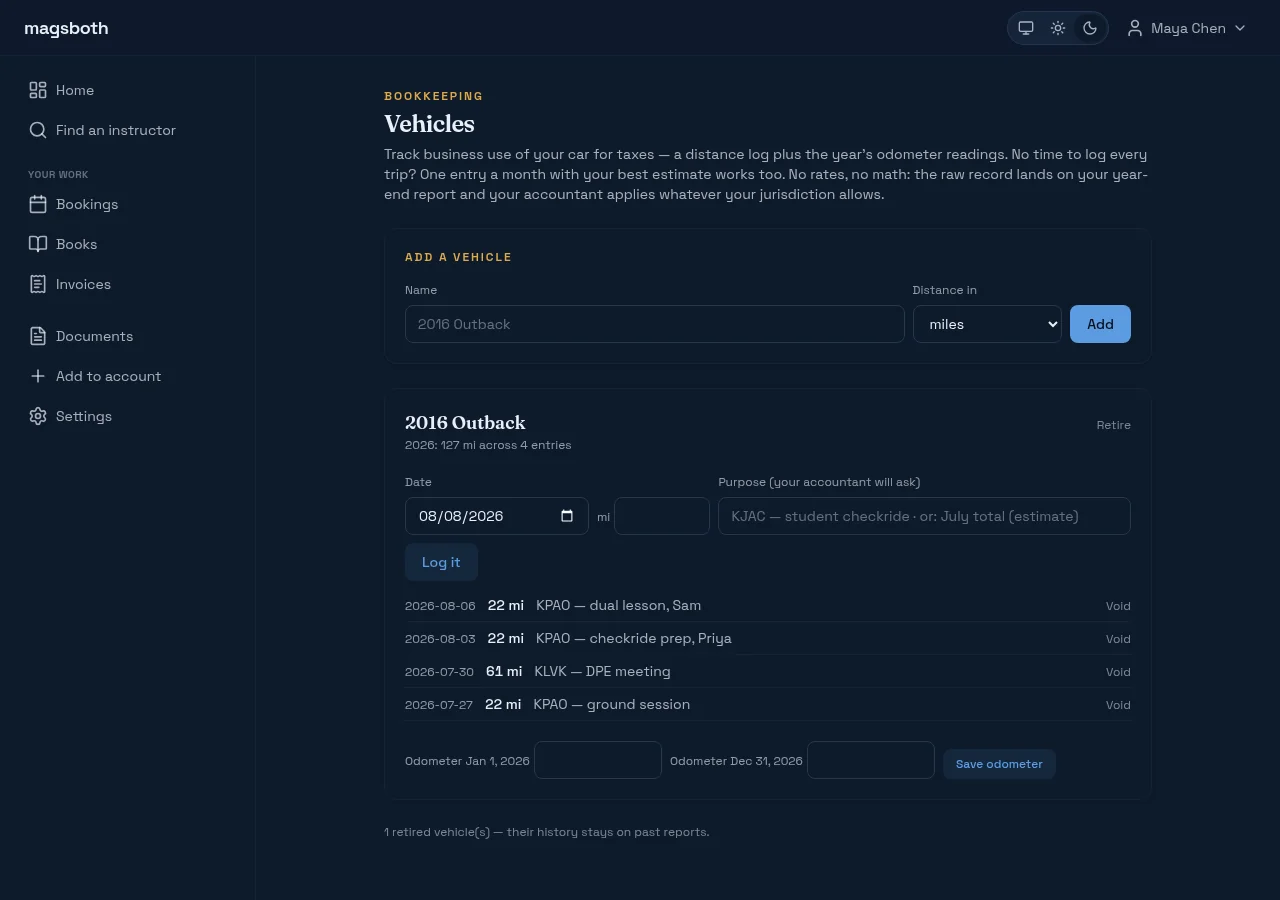
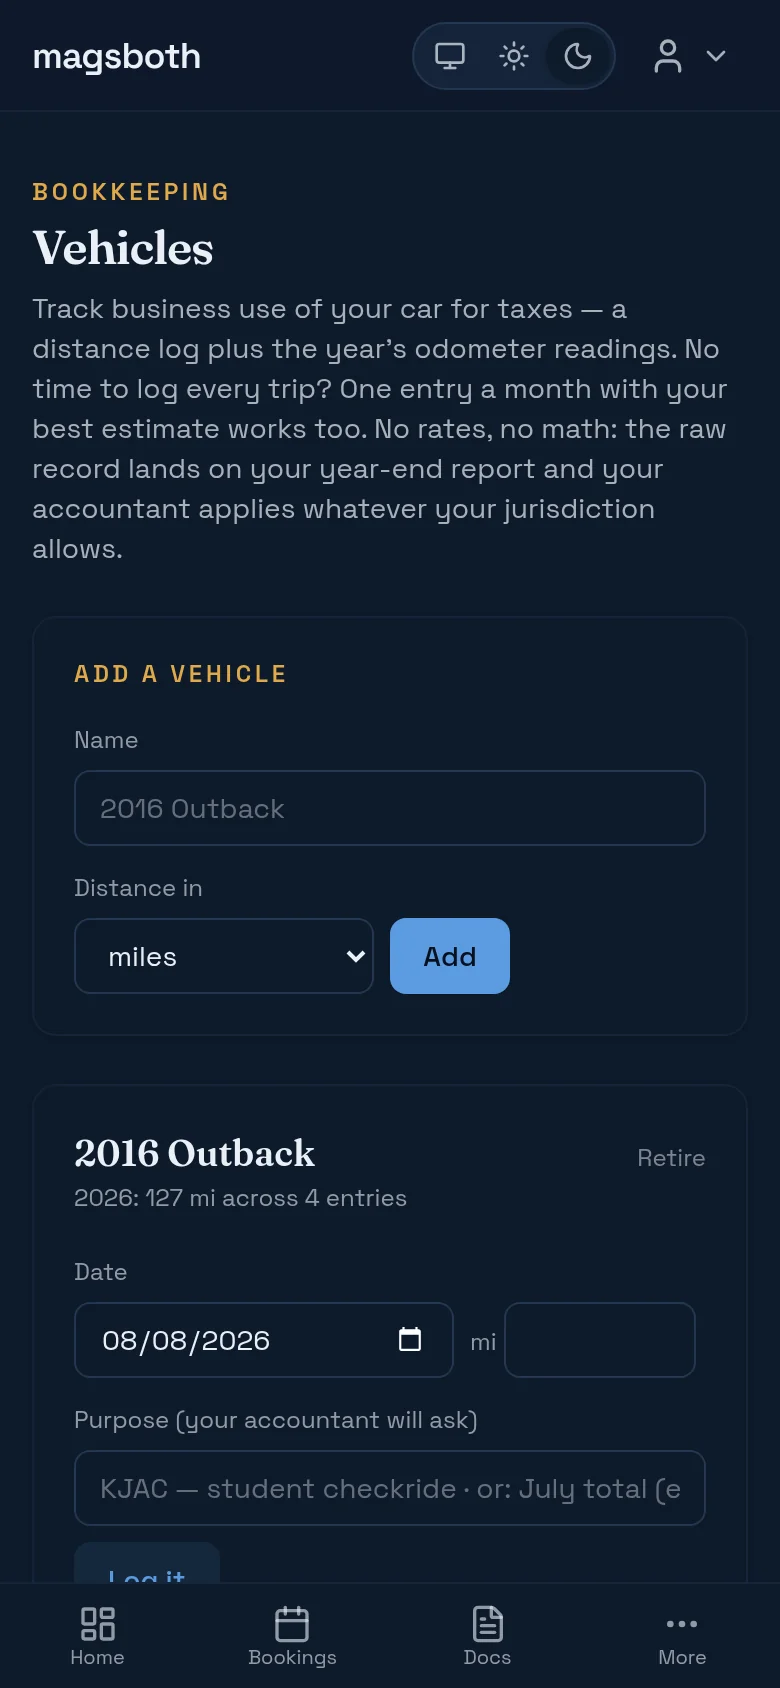
It all lands on the year-end report automatically, in its own "for your accountant" section, next to a caution about not double-counting fuel if the standard rate gets used.
Invoice, and turn it into a receipt
Plenty of instruction is paid in cash, by check, or by e-transfer, and that money still needs a paper trail. Build an invoice from line items: hours × rate, plus anything else you're passing along.
If you just finished a lesson, use the picker at the top of the form: it fills in the student, the date, and the price from the booking.
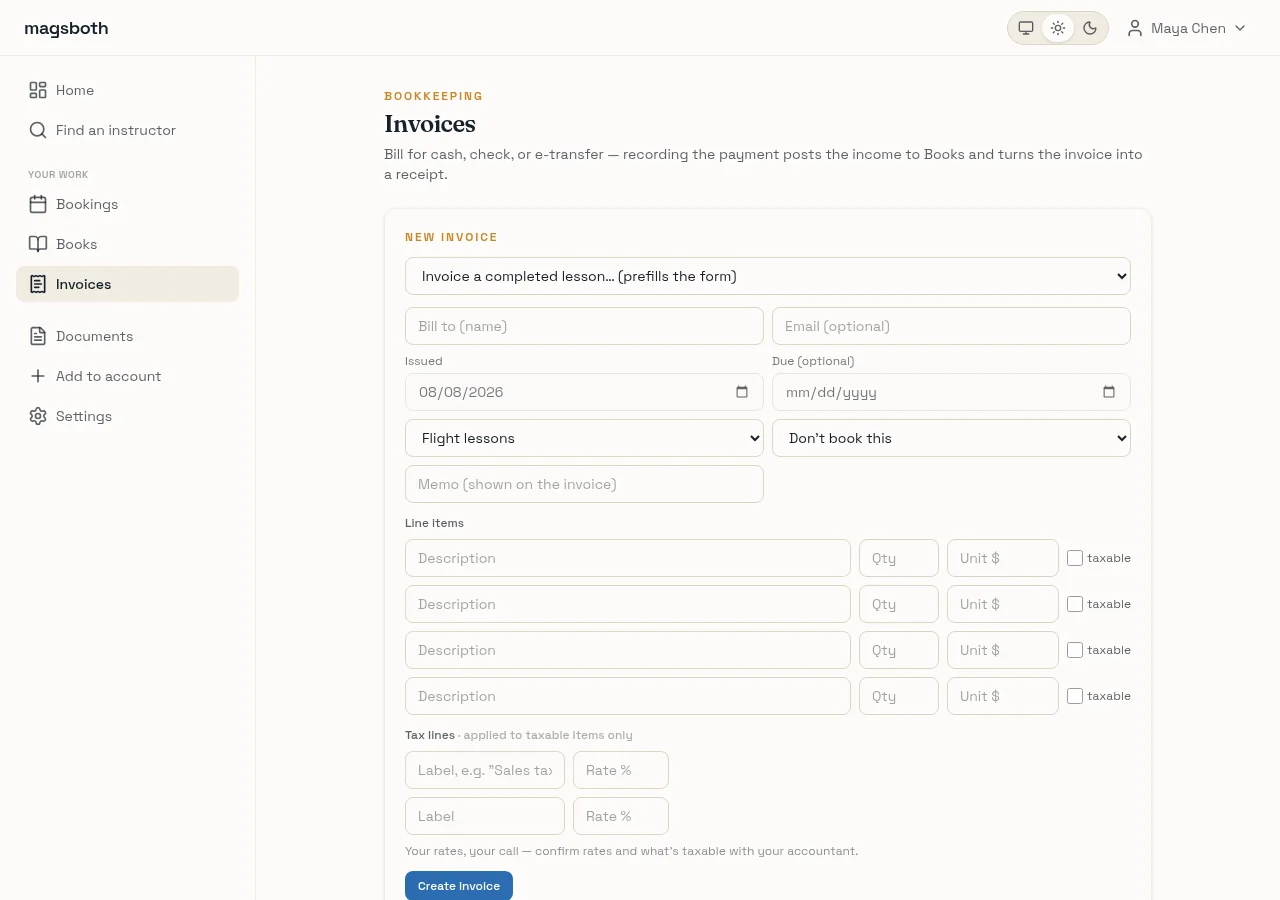
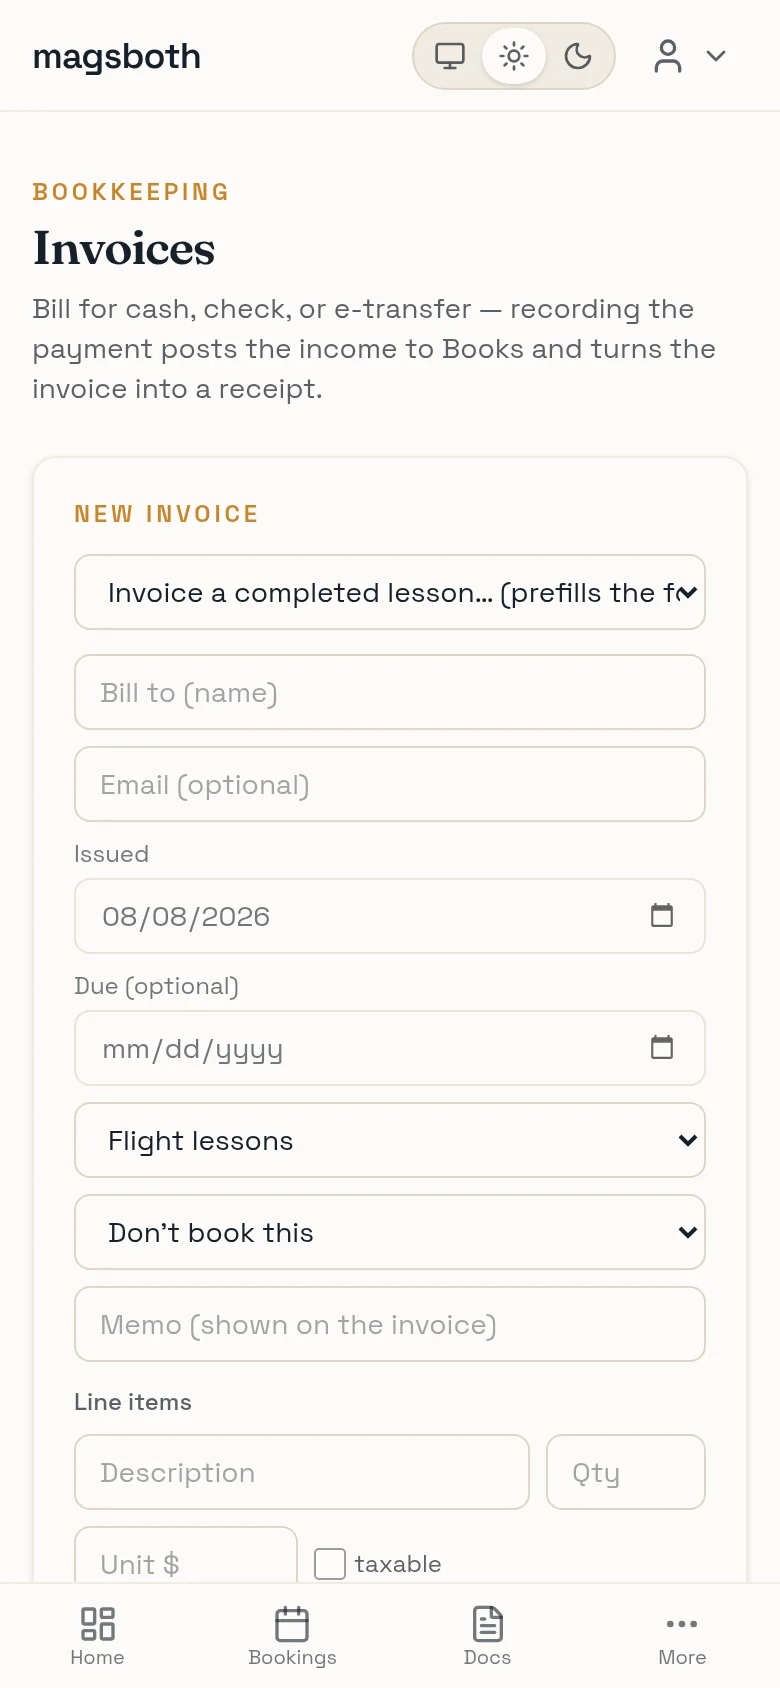
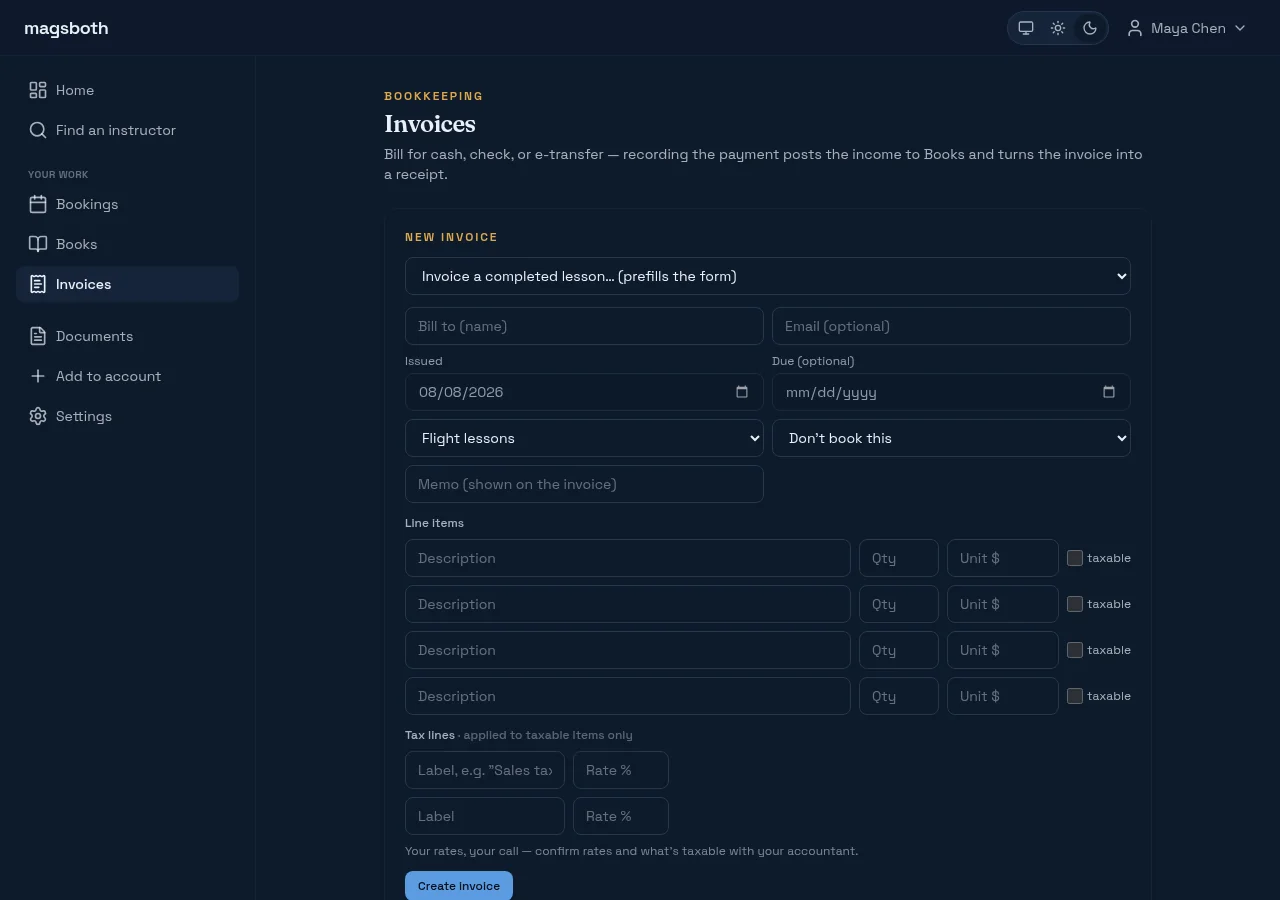
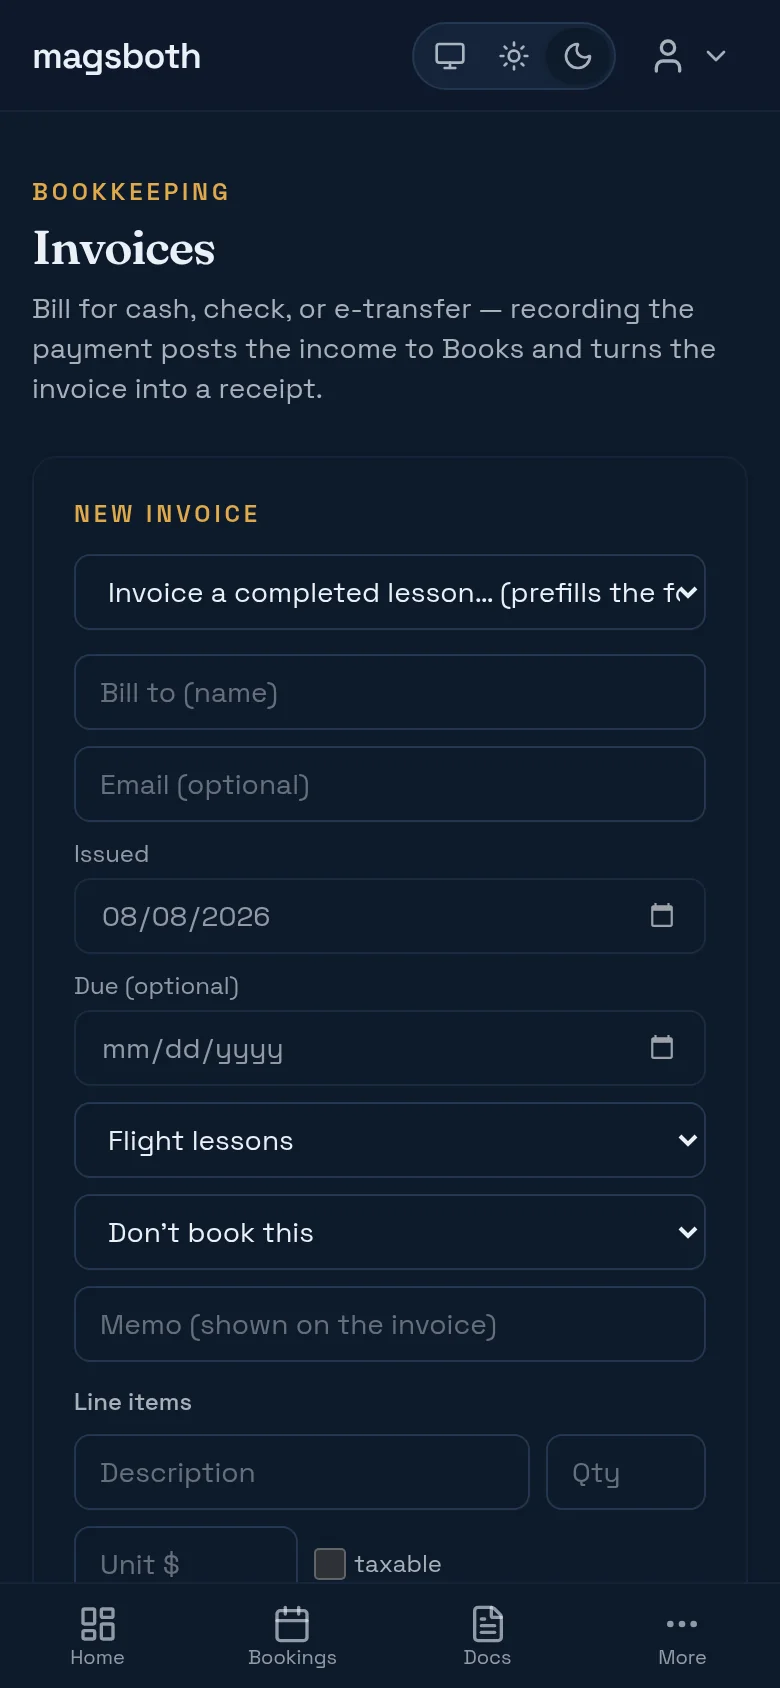
Tax is yours to set. magsboth doesn't guess your rate or decide what's taxable in your state or province, because being confidently wrong about that is worse than being silent. Enter the rates you and your accountant agree on; they carry forward from your last invoice. (If you take card payments through Stripe, its tax engine handles this for you on those payments.)
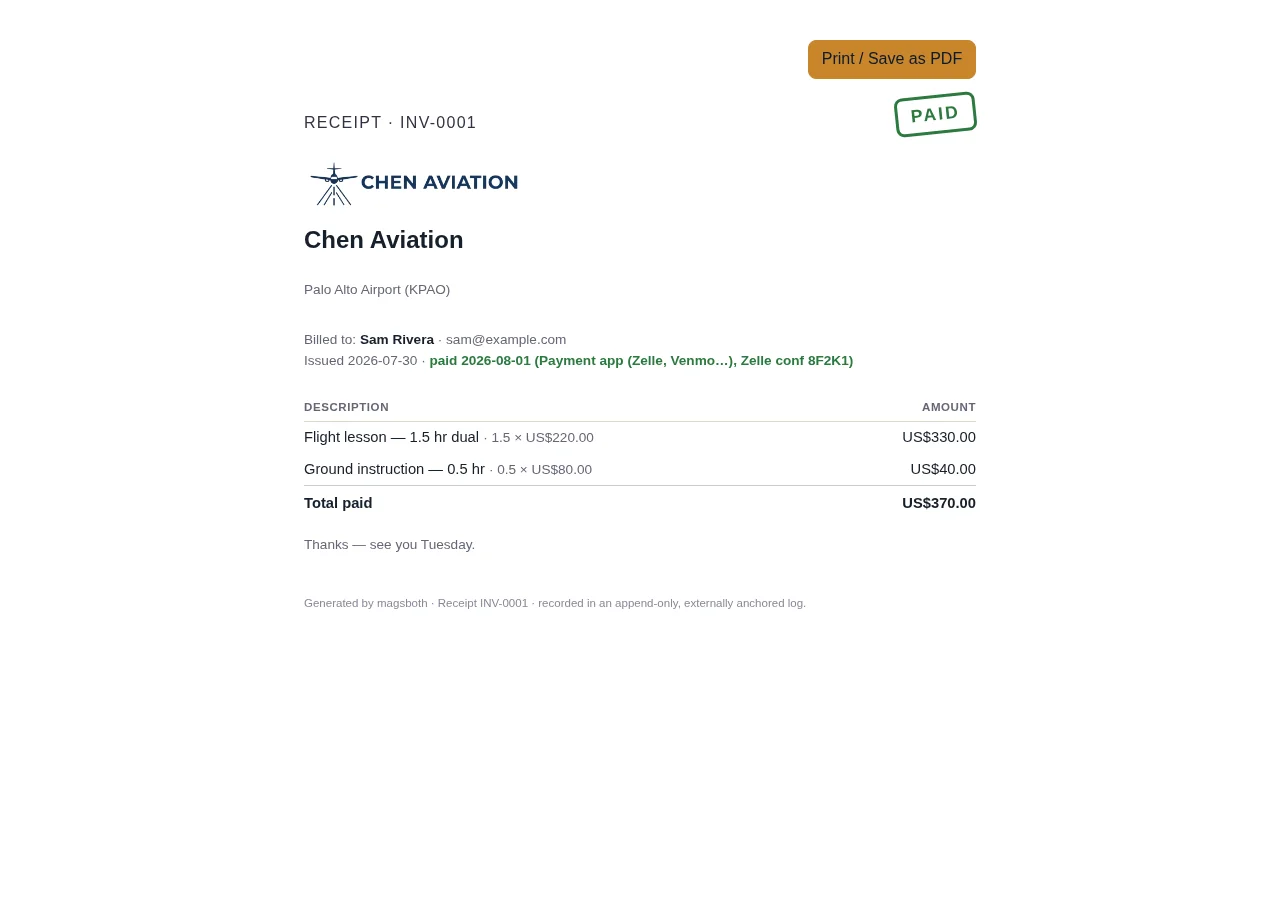
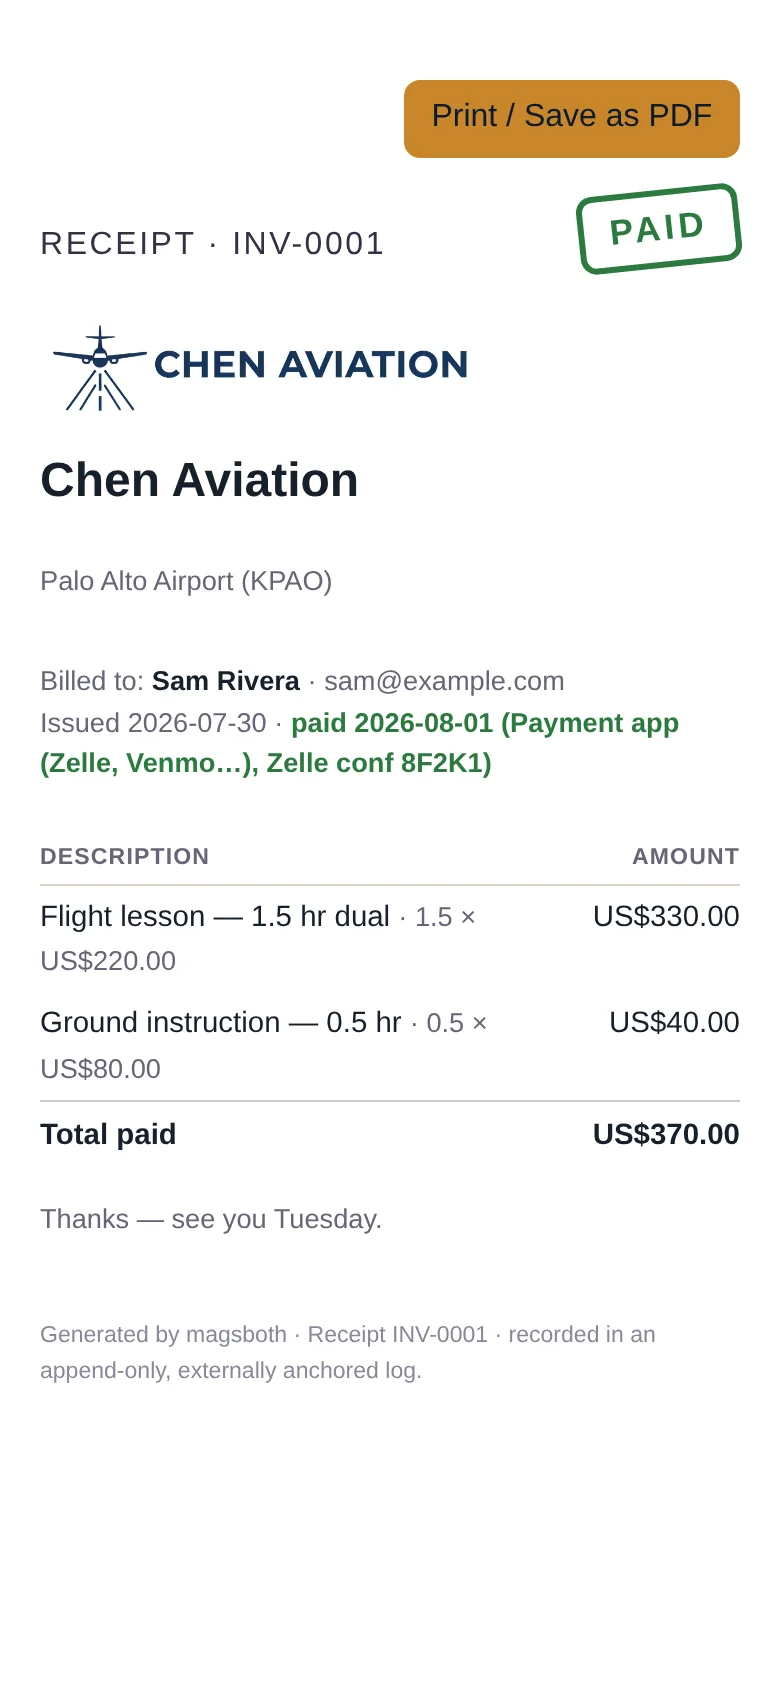
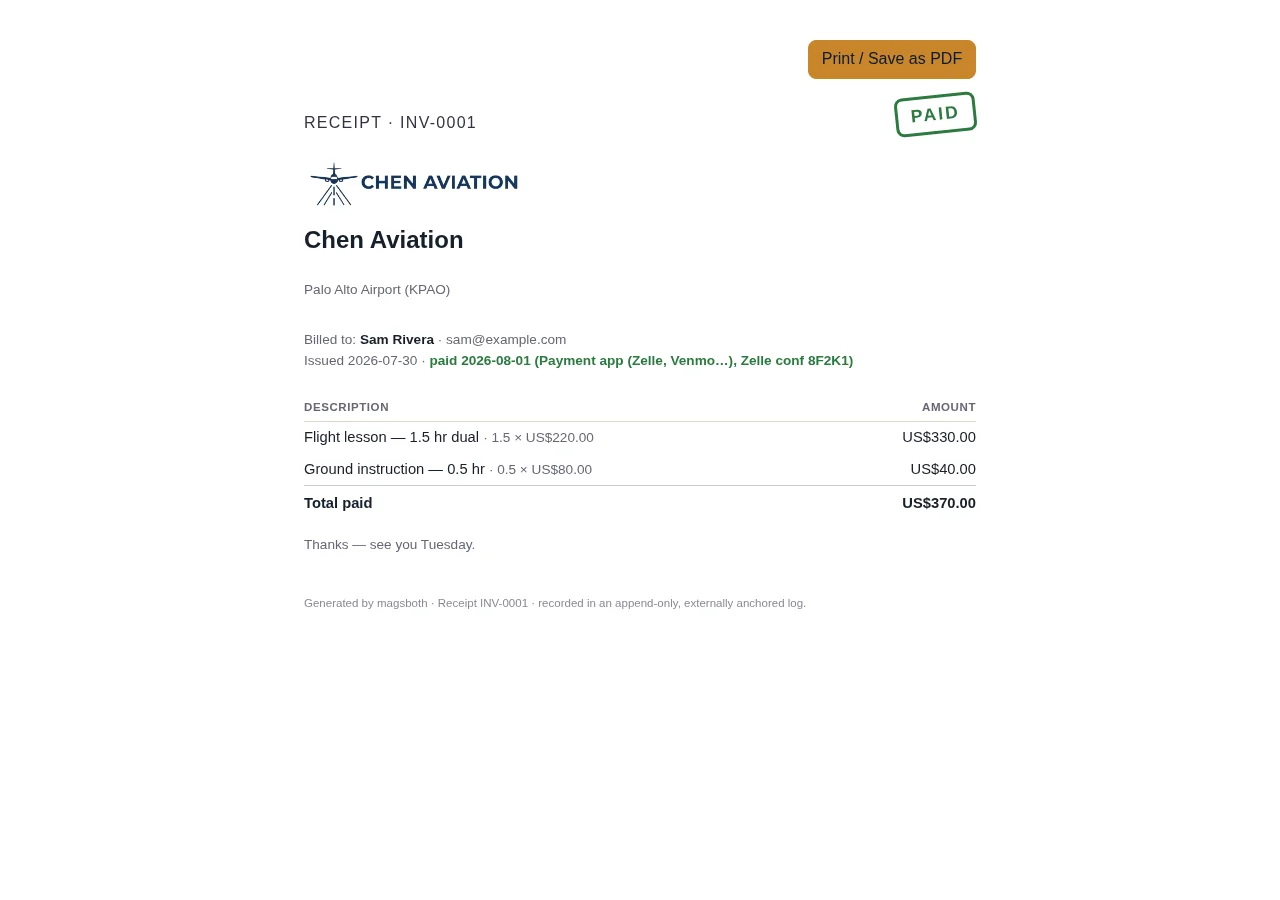
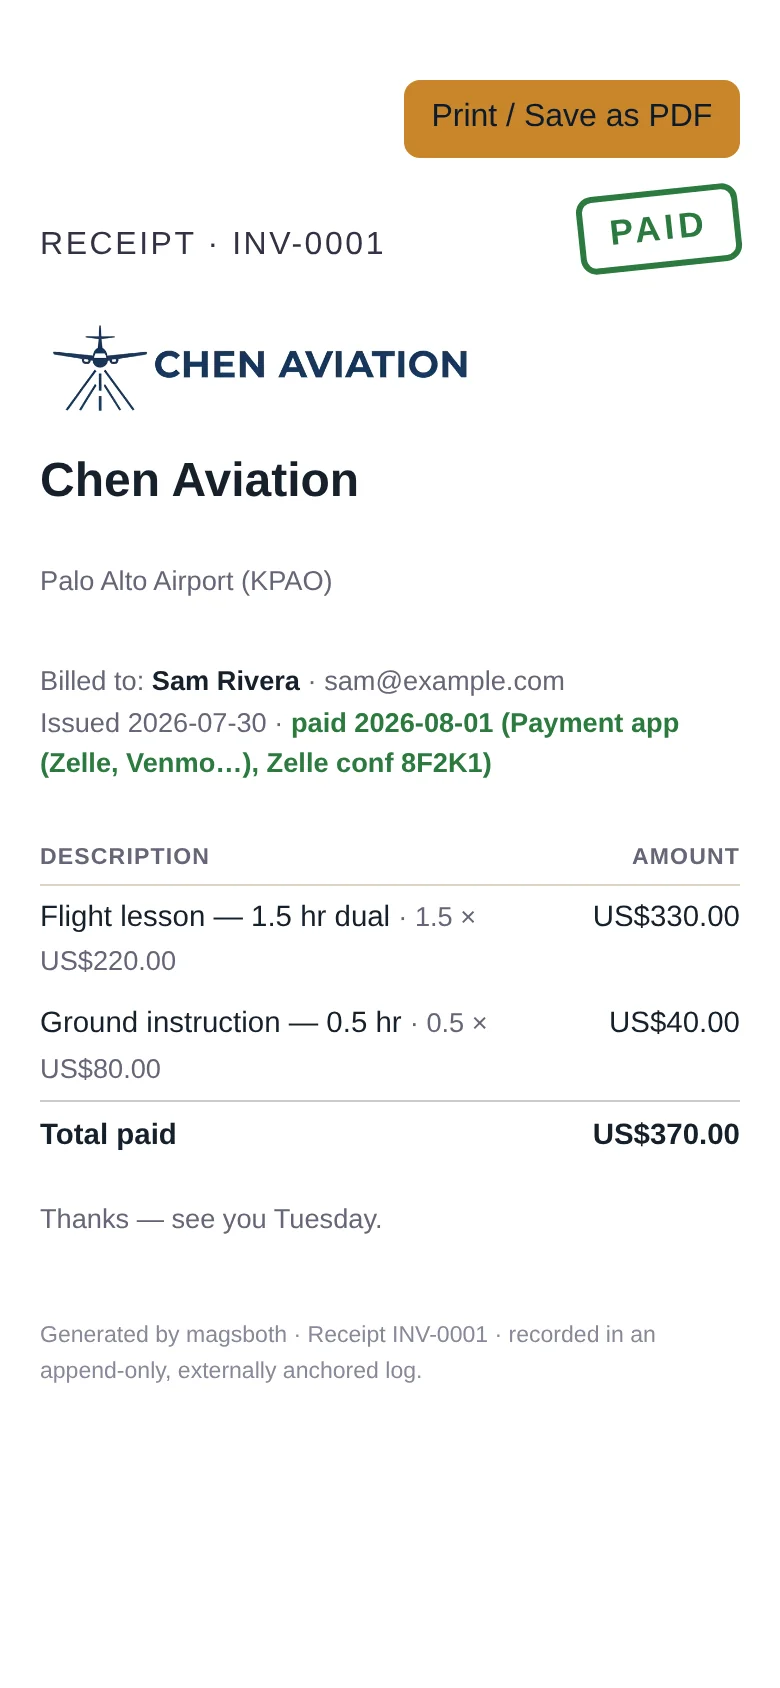
When the money arrives, hit Record payment and say how it came in. Three things happen: the invoice becomes a receipt, the income posts to your books on the date you were paid, and the printable version grows a PAID stamp. There's no second document to make; the receipt is the paid invoice.
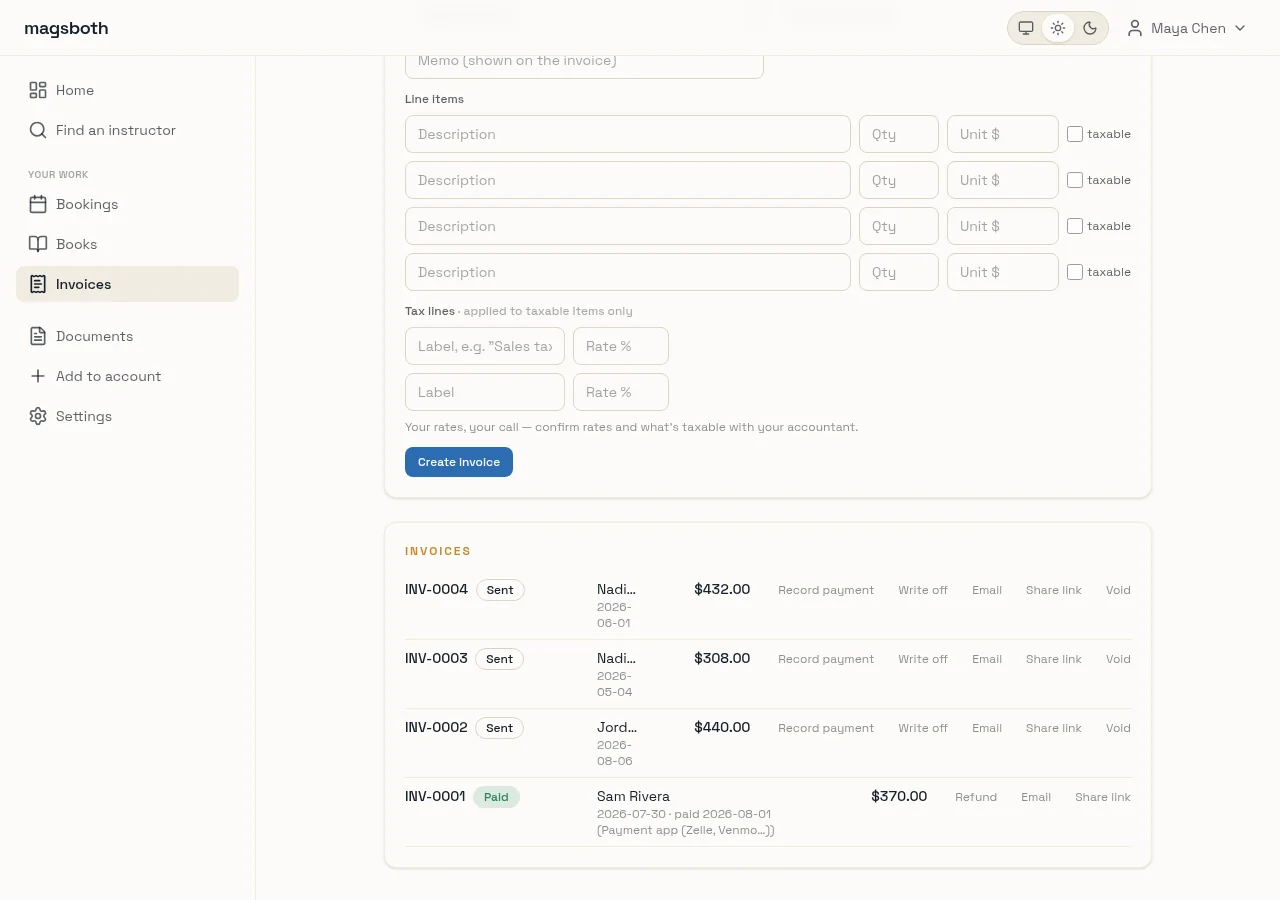
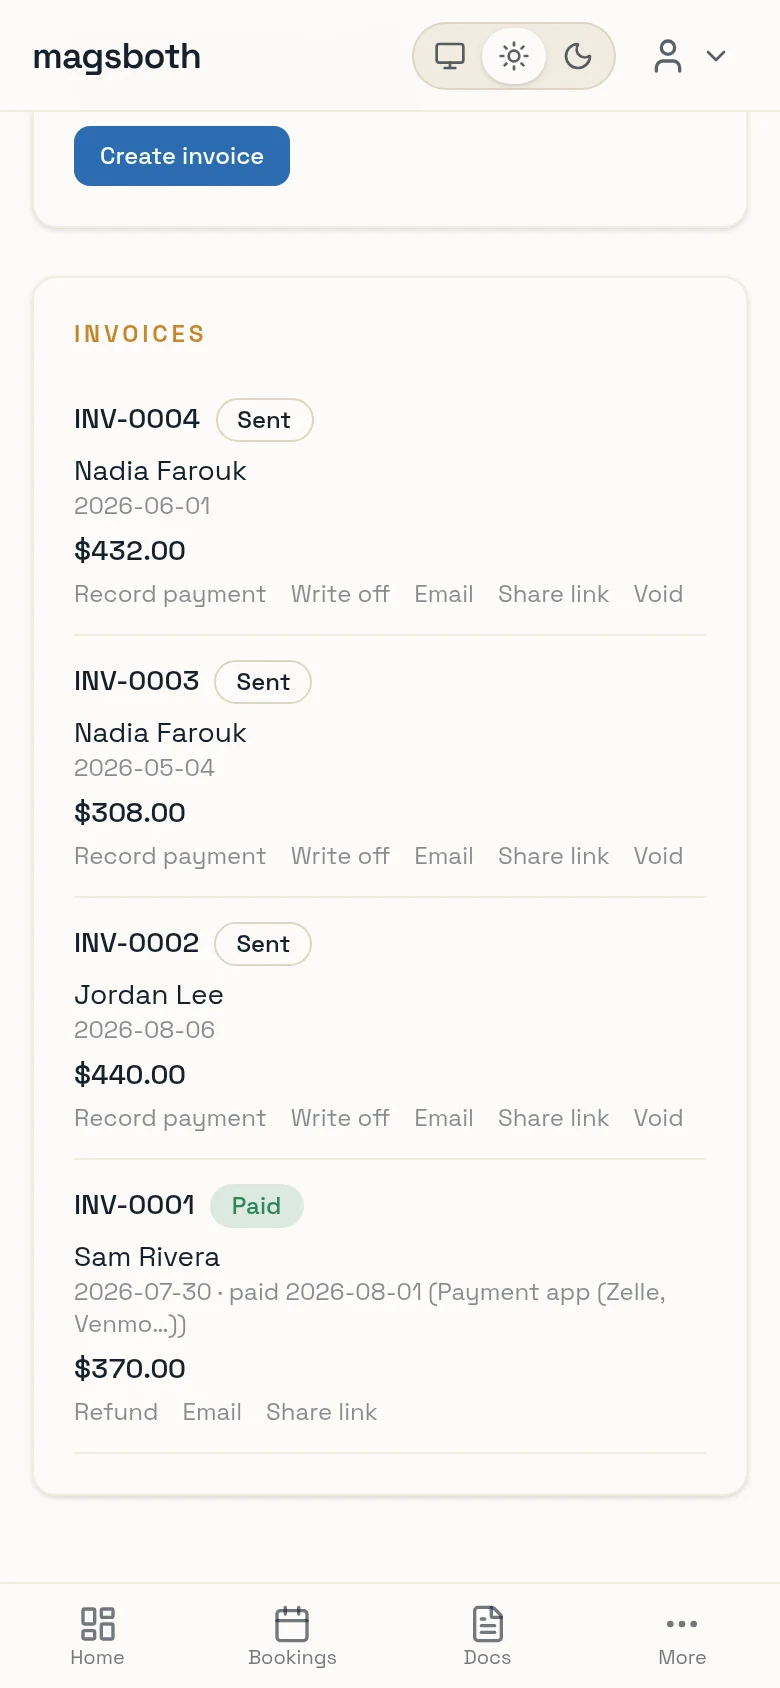
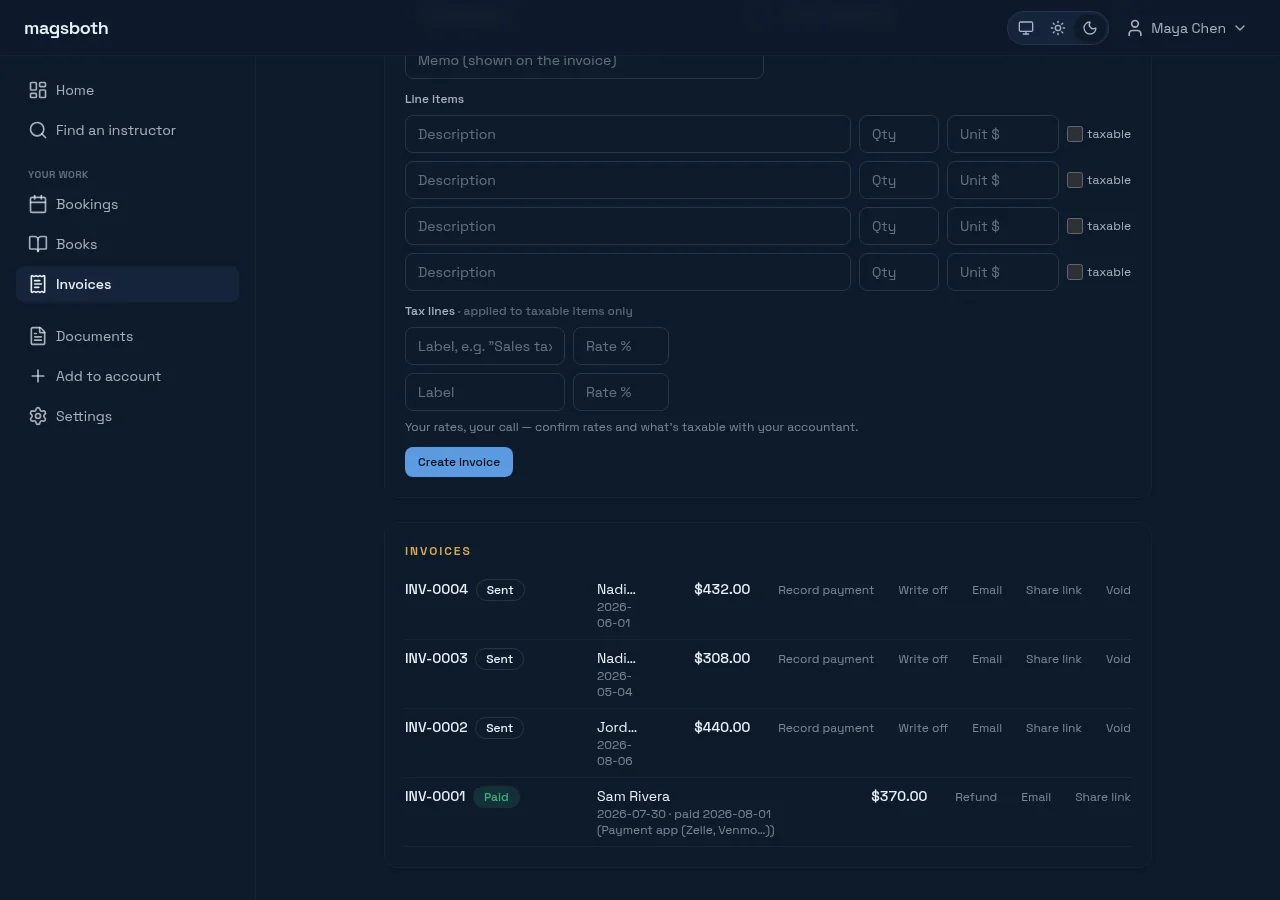
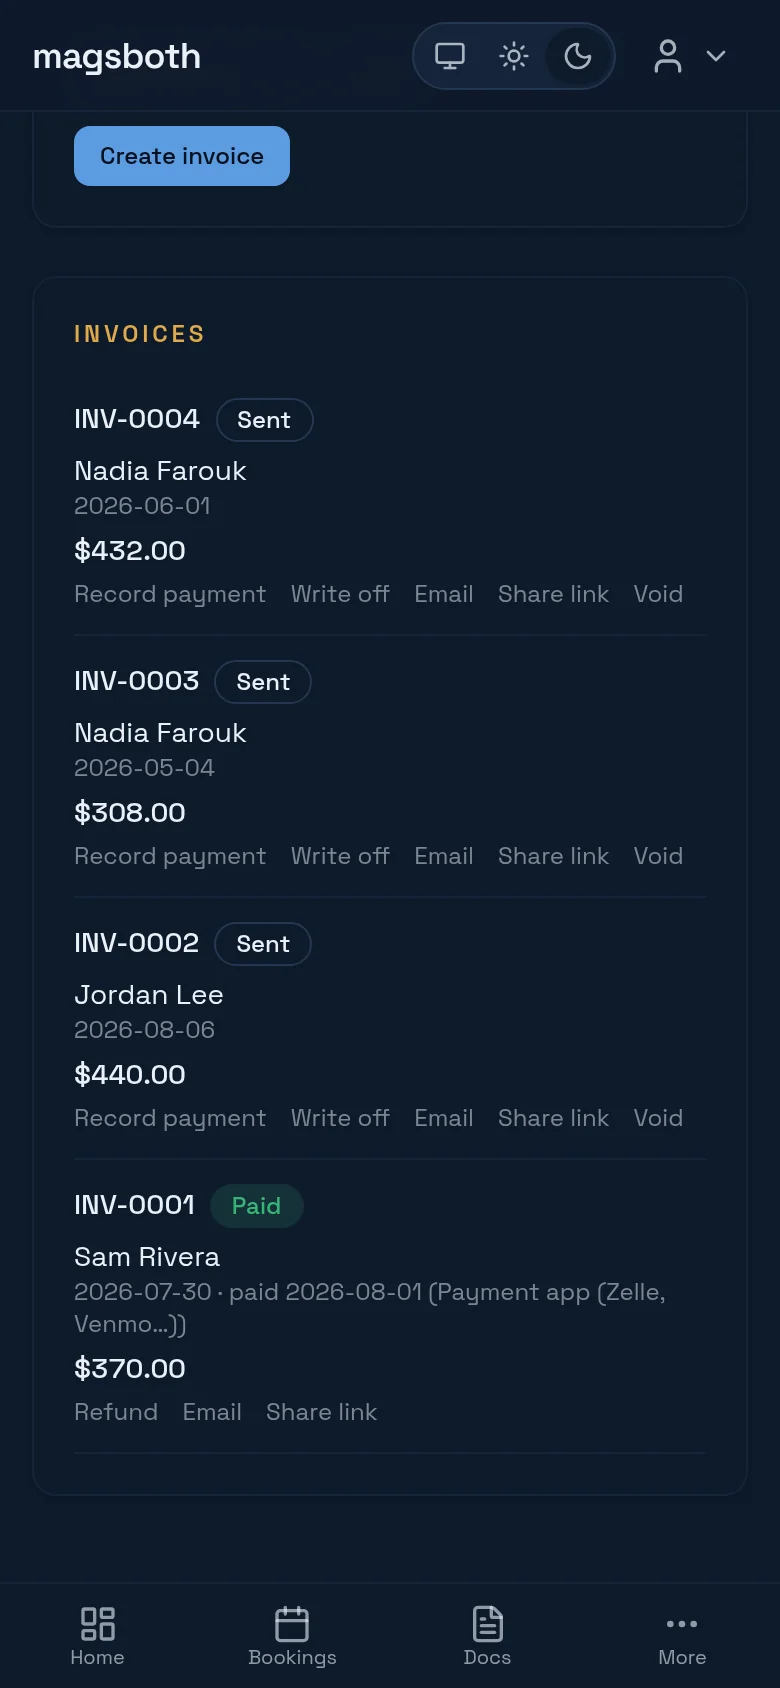
- Share link gives the student a URL they can open without an account. Minting a new one retires the old.
- Refund is for money that actually went back. It posts a compensating entry dated the day you refunded, and leaves the original income in the period it was earned, which is what a refund is.
- Void is for an invoice that should never have existed. It undoes the income entirely.
Get told when things happen
Under your name in the top right, Notifications controls how you hear about bookings, documents, and lesson reminders. Email always works; web push is per-device, so turn it on for the phone you actually carry. Text messages are coming.
On a phone, your browser will offer to install magsboth to the home screen. It's worth doing. It opens full-screen, and the day-to-day pages are built for that size first.
Pick a plan when you outgrow free
The free tier is a real tier: public profile, basic scheduling, manual books, and a listing in Find. Paid tiers lift the roster ceiling and add the things a busier practice needs: full availability rules, e-sign, exports, taking card payments. Current tiers are on the pricing page, and you can move between them from Billing inside the app.
Teaching at a school?
Everything above still applies; the school layer is optional and sits on top. Your school can put you on its own page (you keep your account and your records, always), or you can use the whole toolbox without the school ever logging in. Three guides, pick your situation: your school is on magsboth, your school runs on paper, or you run the school.
Something not working?
Email hello@magsboth.com with what you were trying to do and where it went sideways.